Spicy Cucumber-Kohlrabi Gazpacho (gluten-free and vegan)

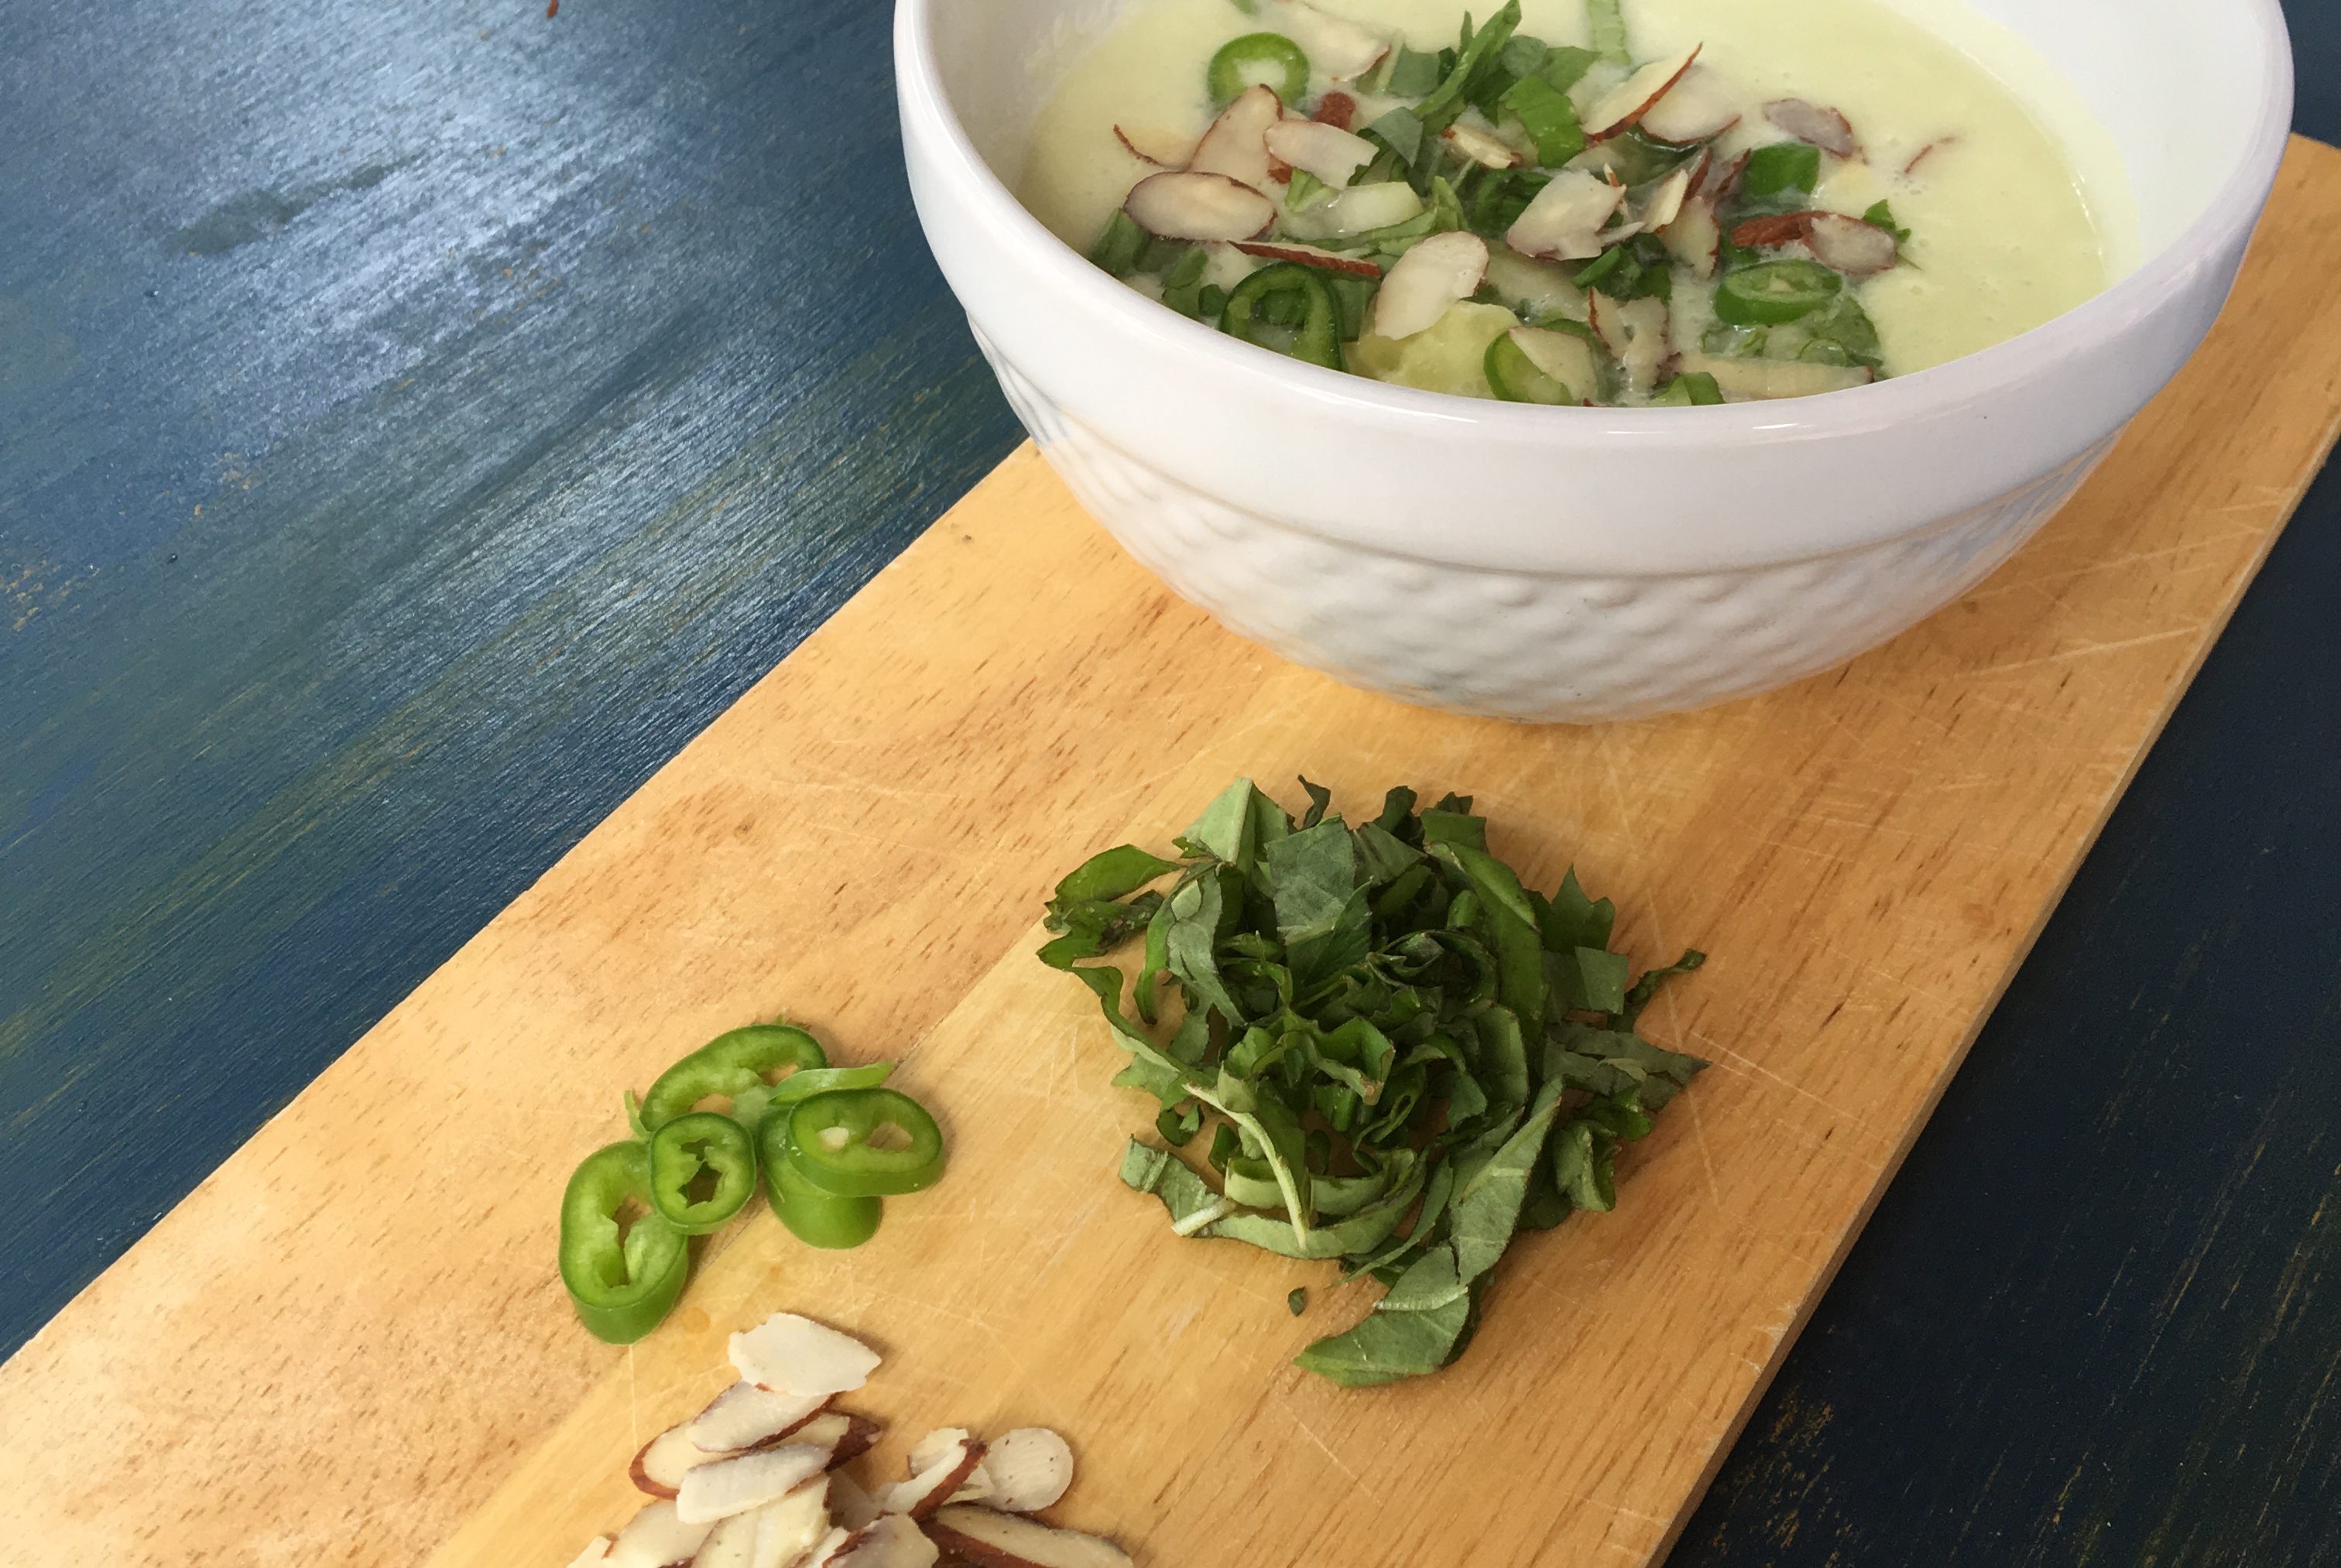
Cucumber-Kohlrabi Gazpacho

You know those times when you think you’re eating something really healthy and then you realize there’s all kinds of hidden food bombs lurking within? Gazpacho might just be one of those great deceivers. It is for me!

Every time I eat a light, delicious gazpacho I forget that most of the time they contain stale bread as a thickening agent. The horror! Now, I’m not gluten-free – in fact I make my own sourdough bread every other week and eat the darn stuff daily – but I don’t like feeling duped by my soup.

In light of this sense of gastronomic justice, I experimented with using Kohlrabi – German for “cabbage turnip” – as a thickening agent…and it worked!

Kohlrabi is not a root vegetable but in fact a member of the brassica family – along with brussels sprouts, broccoli and cauliflower. It grows above ground and is loaded with minerals like copper, potassium, manganese, iron, and calcium, as well as vitamins, such as vitamin C, B-complex vitamins, vitamin A, and vitamin K. It’s flavor  is – in my opinion – unremarkable. So, dress it up in cucumber and spice and let’s call it a day!
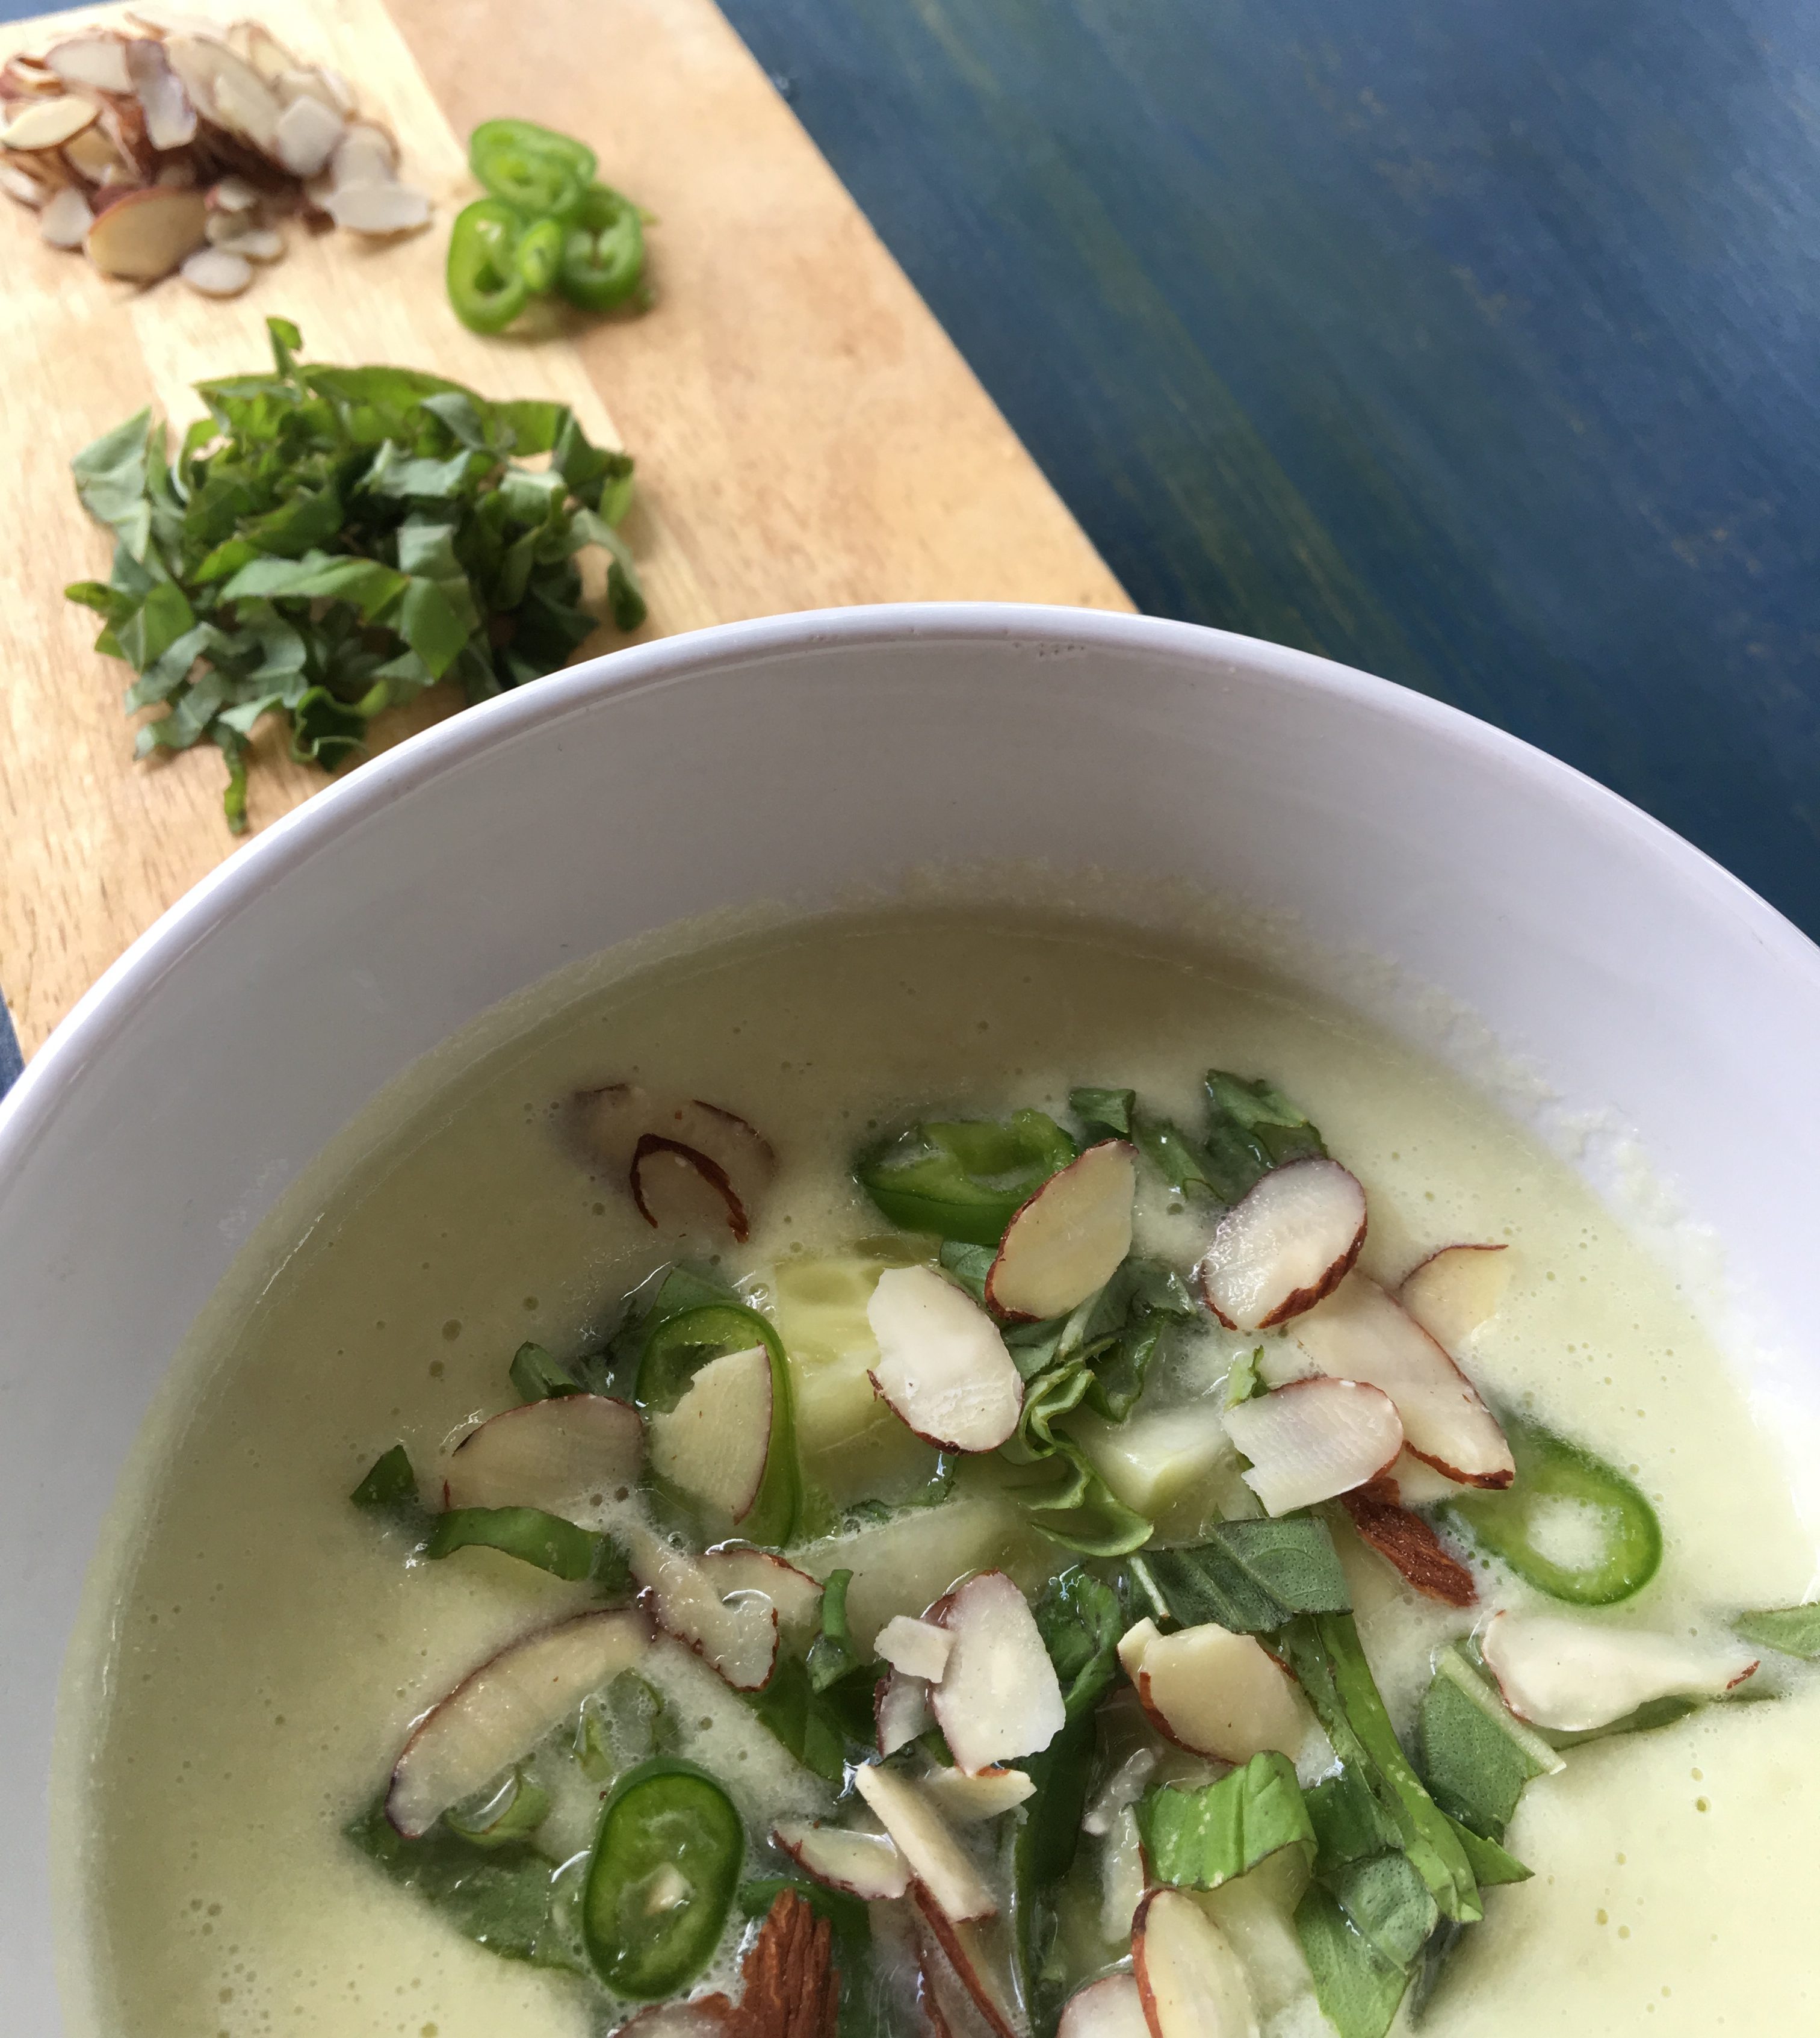
Move Well DC - Cucumber Kohlrabi Gazpacho

Spicy Cucumber Kohlrabi Gazpacho

{Makes 4 servings.}

Ingredients:

  • 1 bulb of kohlrabi
  • 2 large organic cucumbers
  • 1 1/2 cups unsweetened plain almond milk
  • 1 serrano chile
  • 1 Tbs champagne vinegar (or rice vinegar)
  • 1/4 cup good olive oil
  • Juice of 2 limes (plus the zest of 1)
  • 1 large clove of garlic
  • Sea salt and pepper to taste
  • 1/2 cup toasted slivered almonds (for garnish)
  • 1/2 cup basil (for garnish)


Directions:

  1. PREP: Trim, peel and roughly chop the kohlrabi and cucumbers. Set aside a half a cup of the cucumbers and chop that portion into small cubes. Seed and halve the serrano. Set aside one half and slice thinly for garnish later. Peel the garlic. Cut the basil into small ribbons and set aside for garnish later.
  2. ASSEMBLE: Place all ingredients except the slivered almonds and cucumber, serrano and basil you have set asside for garnish in a high-speed blender. Purée until smooth (note: if you have an older blender you may need to strain the gazpacho with a skimmer or mesh bag to eliminate inconsistencies in texture).
  3. SET: Pour into an airtight container and refrigerate for at least an hour (or up to overnight!) before serve to allow the flavors to meld (note: it will get spicier with time).
  4. SERVE: Place 2 Tbs of cubed cucumber in each bowl and ladle gazpacho on top. Garnish with 2 Tbs of basil ribbons, 2 Tbs of slivered almonds and serrano slices to taste. Drizzle a little extra olive oil and dust with freshly ground black pepper for even more taste impact.


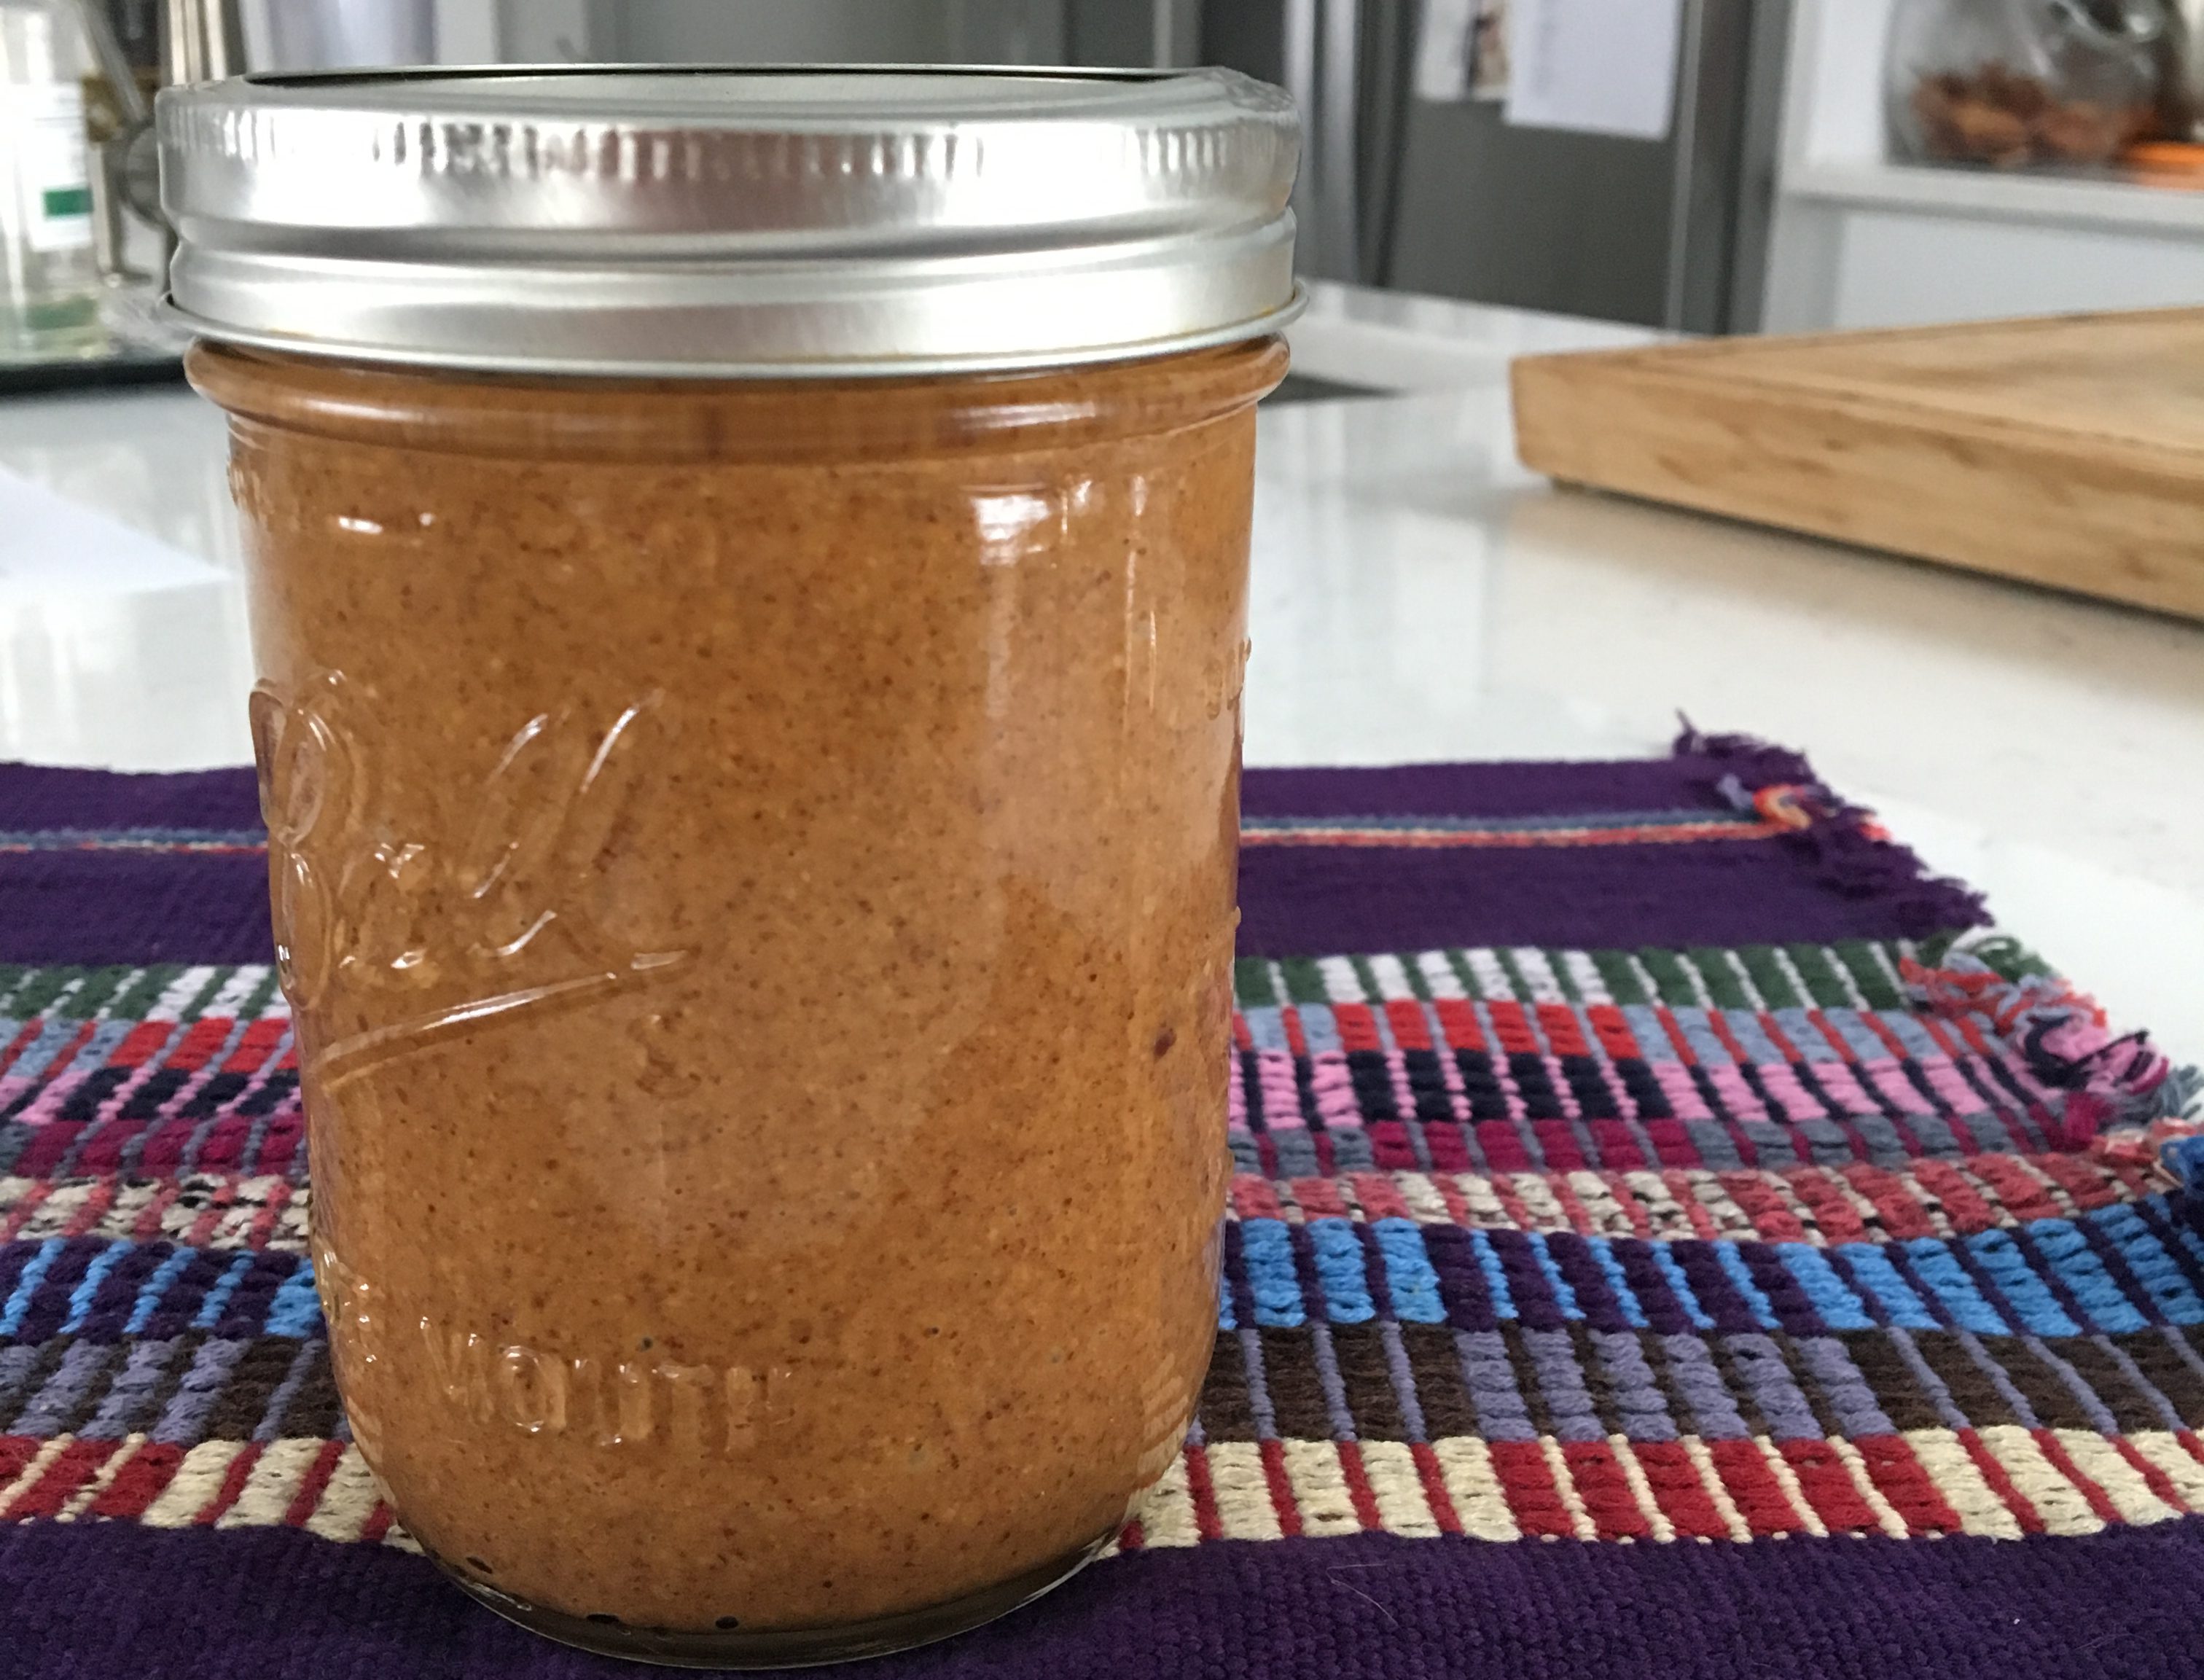
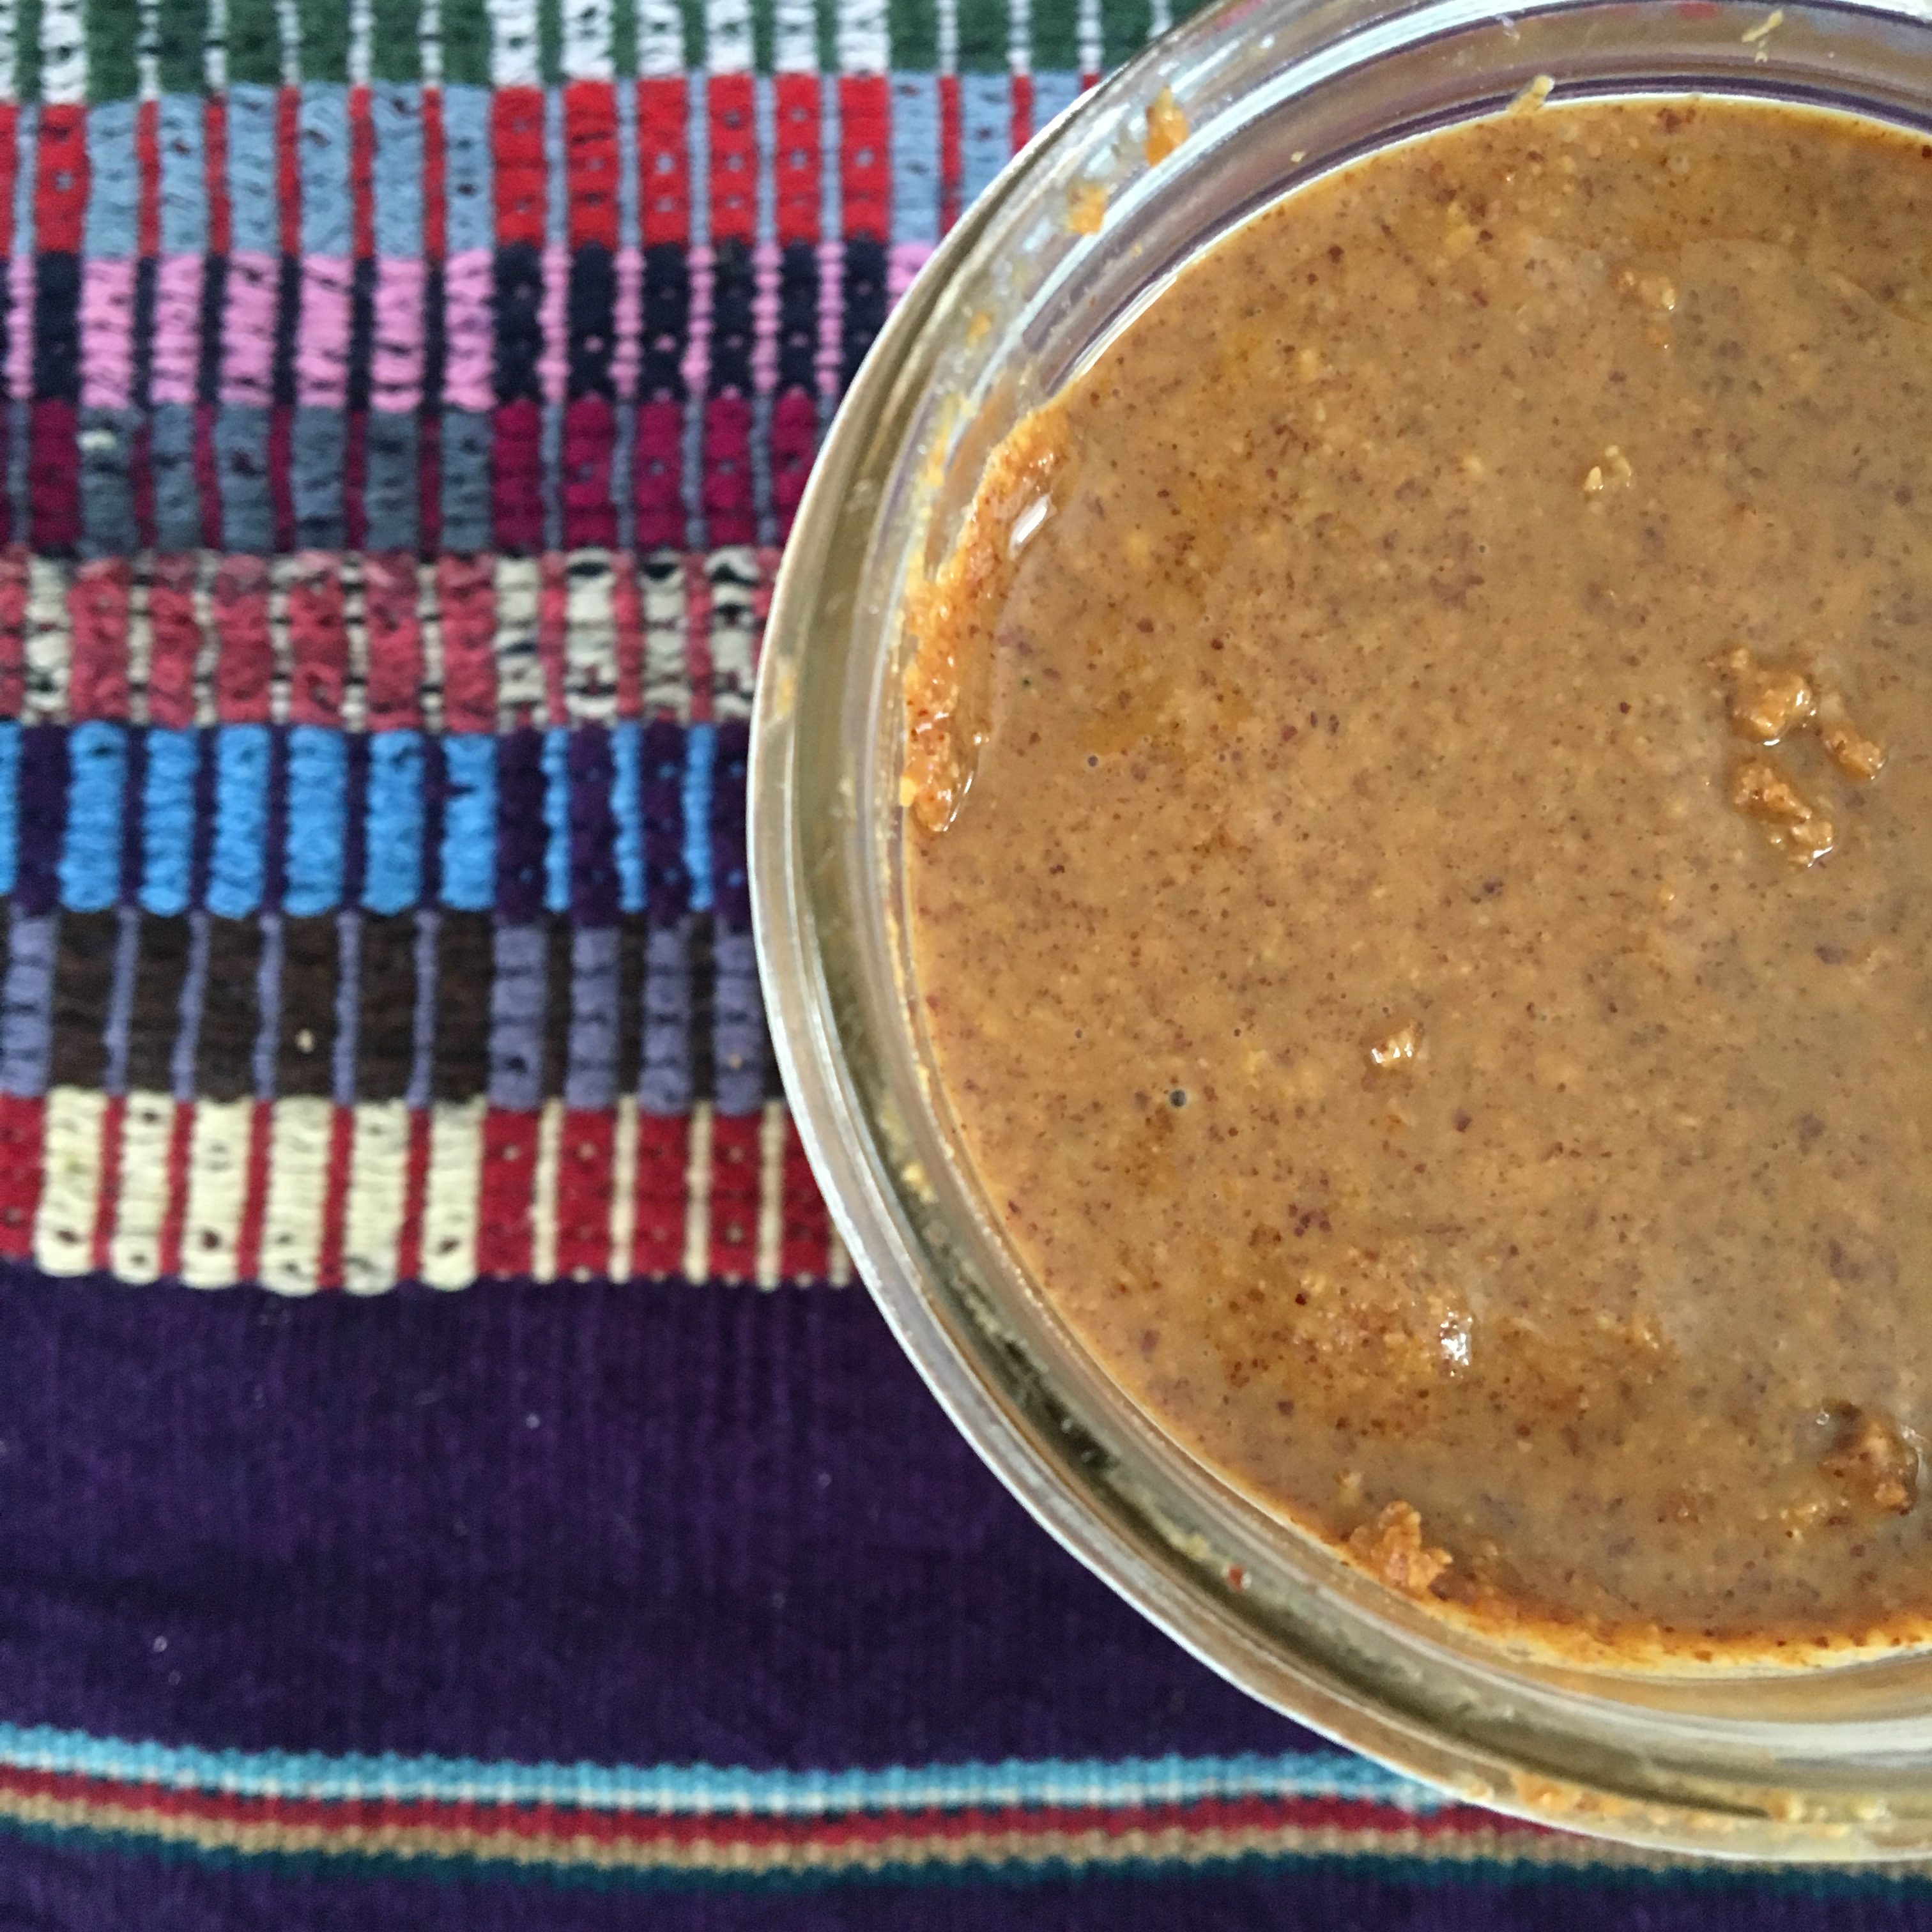
Homemade Peanut Butter (sugar-free)!

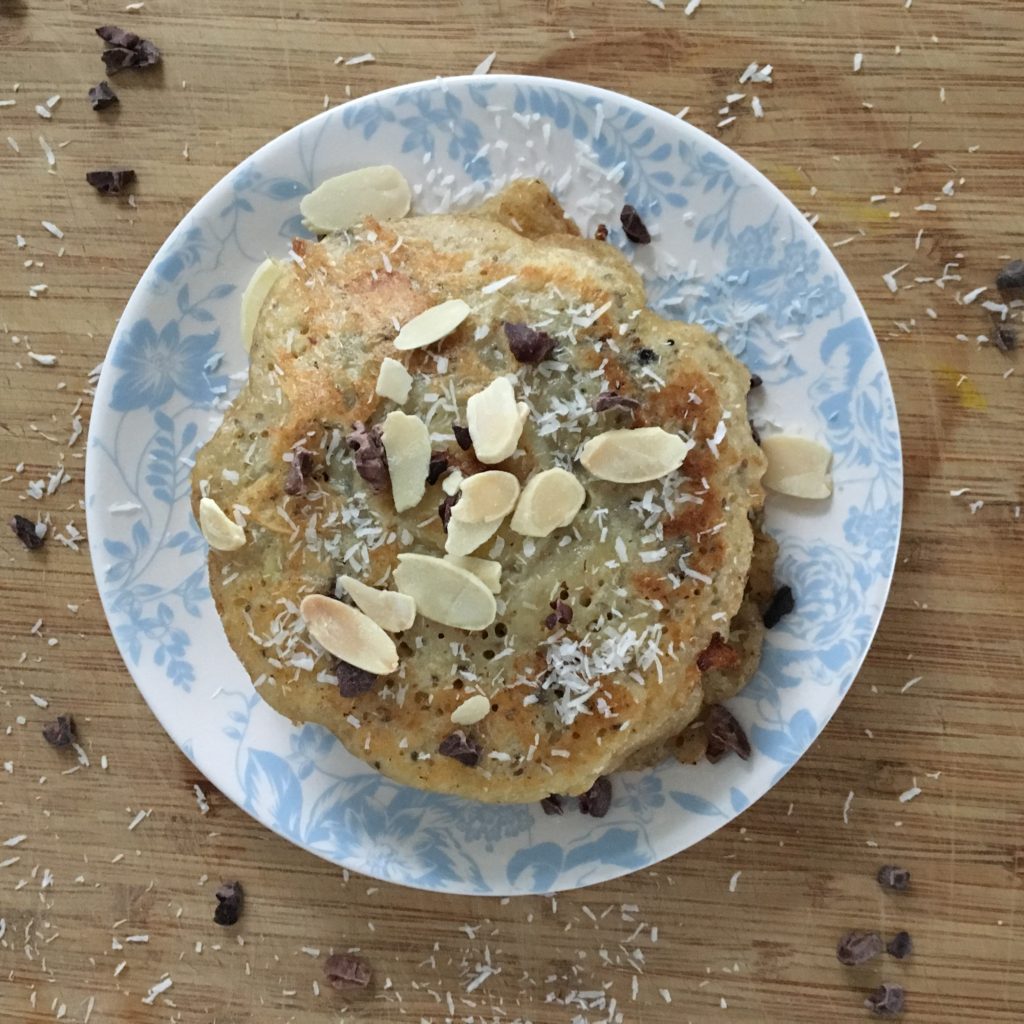
When it snows and your noon class gets canceled, what else do you do besides cook? Okay well maybe that’s just me, but snow day = kitchen marathon. I’ve already made these pancakes:


And of course added my own twist with cacao nibs, unsweetened coconut, banana rounds and chia seeds.


Now, it’s time to tackle my first ever batch of homemade peanut butter….


So many of the brands you’ll find in stores contain sugar and if you haven’t heard, sugar overload is killing us. I’ve wanted to make my own peanut butter for a while, but it wasn’t until a recent trip to Houston, TX that I picked up some fresh, raw peanuts from Frobergs Farm that I finally got the motivation.


Turns out, it’s super easy if you have a food processor! Give it a try. Warning: you might never go back to the store bought stuff.


Homemade Peanut Butter (Sugar-Free)

Makes 1 pint (or 1 wide mouth, 16 oz mason jar)

Ingredients:

For the Peanut Butter –

  • 1lb roasted peanuts, shelled
  • 1 tsp pink Himalayan sea salt (or slightly more to taste)
  • 2 – 2 1/2 Tbs coconut oil, melted

For roasting the peanuts –

  • 1lb raw peanuts, shelled
  • 1 tsp pink Himalayan sea salt
  • 1 Tbs coconut oil, melted

Directions:

  1. Preheat the oven to 350 degrees F.
  2. Place peanuts in a large bowl and toss with the melted coconut oil and salt until well coated.
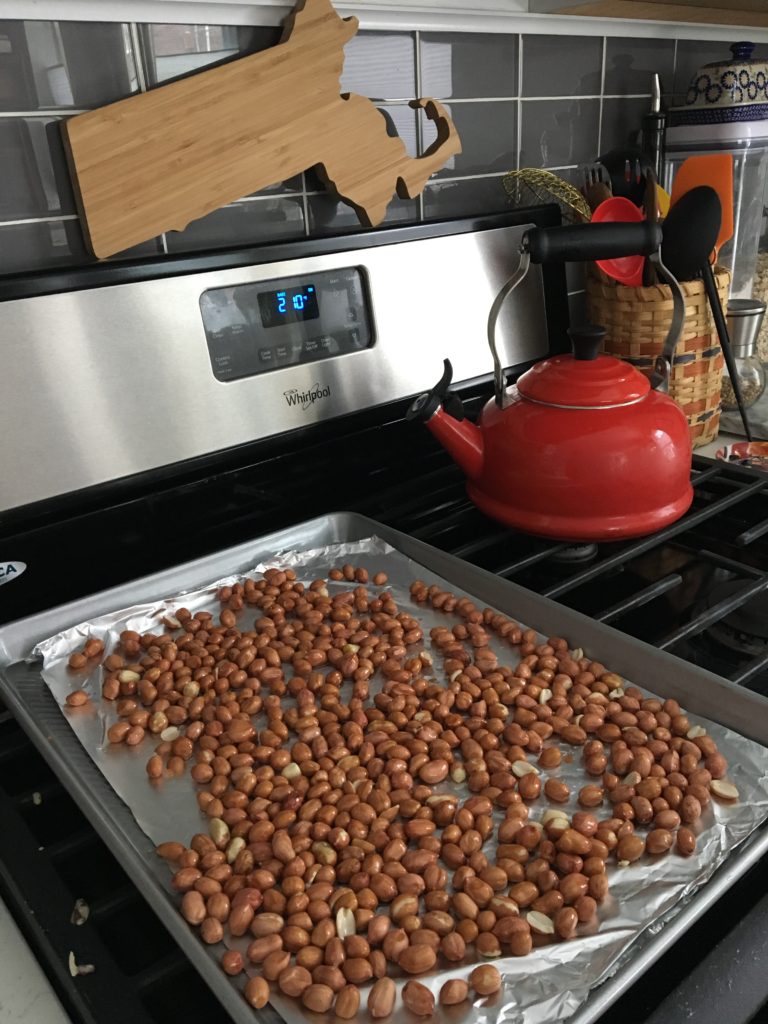
  3. Place on 1 non-stick or lined sheet pan, making sure to spread them out into a single layer. Roast in the oven for 30 minutes, rotating the pan halfway through cooking.
  4. Remove the peanuts from the oven and let them cool before eating/using for Peanut Butter. They will continue to become crunchy as they cool.
  5. To make peanut butter, remove the skin by rubbing the peanuts together in your hands held over a salad spinner, allowing the peanuts and skins to fall into the bowl. Once the skin has been loosened from all of the peanuts close the salad spinner and spin until all of the skin has been separated from the peanuts. (This step is optional – an idea taken from Alton Brown. I skipped it and had a few skins in the mix that didn’t just naturally fall off in roasting and it still turned out well!).
  6. In a food processor, combine roasted peanuts, melted coconut oil and sea salt to taste. Pulse until smooth or slightly crunchy – we all have our  preference!

Note: you can store this in an airtight container in the fridge for up to a month.


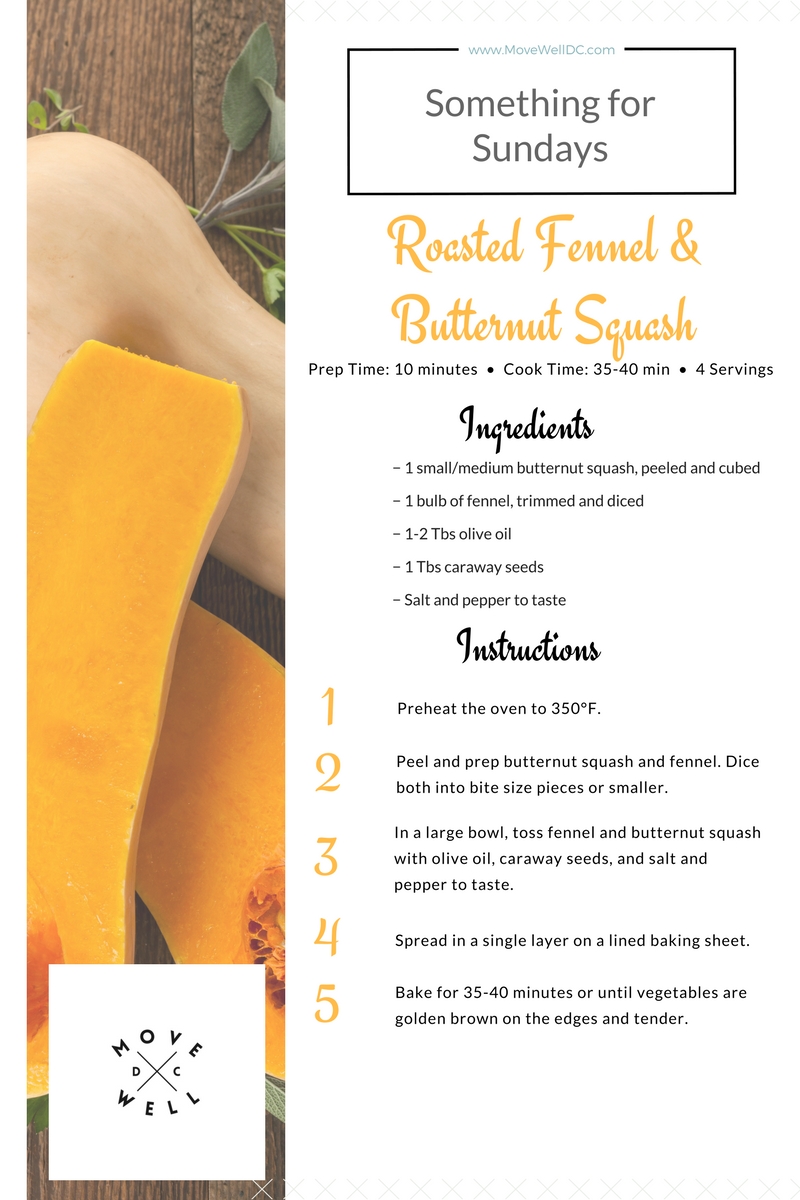
Something for Sundays: Roasted Fennel & Butternut Squash

Amy Rizzotto Butternut Squash Move Well DC

Big batch recipes are where it’s at! Save yourself time, money, and brain space by making a sheet pan full of roasted vegetables, 4-5 servings of a healthy whole grain, and a pot full of beans or lentils at the start of each week to make workweek meals easy peasy. You can think of the recipe below like a formula – swap the veggies out for others you like (brussels sprouts, broccoli, cauliflower, etc) and change up your spices (cumin, red pepper flakes, curry, etc). Just be sure to keep an eye as you roast different combinations as some vegetables might not need as long to cook. Look for golden brown bits around the edges and avoid letting your vegetables get black and burnt – no carcinogens please!

Something for Sundays - Move Well DC - Butternut Squash and Fennel

Big Batch Breakfast: Blueberry Coconut Baked Oatmeal

Let’s face it, oatmeal can get pretty boring, but oats are so good for you – loaded with heart-healthy fiber and minerals. What to do?! Get baked. Err, get baking!

My baked oatmeal is super easy, cost-effective, and since it’s a big batch recipe you’ll be set for breakfast all week. Convenience – check! Taste – check! Healthy – check!

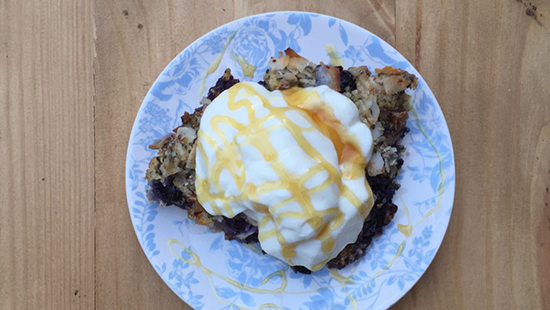
Plate of Blueberry Coconut Baked Oatmeal

Even if you don’t typically dig oatmeal, give this method a try. It changes the texture and fuses the flavors so you might just feel like you’re eating dessert, all the while you’re fueling yourself with clean energy for an active day. And best of all, there’s no added sugar so there’s no guilt with this breakfast decadence.

Go on, shake up your morning meal. It’s good to the last bite!


Blueberry Coconut Baked Oatmeal

Prep time: 10 mins Cook time: 40 mins Total time: 50 mins
Serves: 8 servings

Ingredients:

  • 1/2 cup roasted, unsalted pecan pieces
  • 1/2 cup toasted, unweetened coconut flakes
  • 1/2 cup hulled hemp seeds
  • 1/4 cup chia seeds
  • 2 1/2 cups old-fashioned oats
  • 1 Tbs ground cinnamon
  • A pinch of fine-grain sea salt
  • 2 cups fresh blueberries (frozen will work too – just defrost and discard any liquid)
  • 2 1/2 cups unsweetened almond milk
  • 2 large eggs
  • 2 Tbs melted coconut oil
  • 1 tsp vanilla extract
  • Optional toppings for serving: plain yogurt, maple syrup or honey for drizzling, and/or more fresh fruit

Directions:

  1. Preheat the oven to 375 degrees. Grease a 9×13-inch rectangular baking dish with butter or coconut oil.
  2. In a medium mixing bowl, combine the oats, nuts, coconut flakes, hemp seeds, chia seeds, cinnamon and salt. Whisk to combine.
  3. In a smaller mixing bowl, combine the almond milk, eggs, coconut oil and vanilla. Whisk until blended.
  4. Spread the berries evenly over the bottom of the baking dish then cover the fruit with the dry oat mixture. Drizzle the wet ingredients over the oats. Use a spatula in zig-zagging strokes across the surface of the wetted oats to smooth out the top and push any dry oats down.
  5. Bake for approximately 45 minutes, or until the top is golden (not burnt!). Remove your baked oatmeal from the oven and let it cool for a few minutes before cutting and serving.
  6. Serve with yogurt and a drizzle of honey for a more decadent and delicious breakfast experience!

Notes:

  1. This recipe will keep well in the refrigerator for up to 7 days.
  2. Recipe adapted from Cookie & Kate.

End of Summer Gazpacho

After a very warm September, many of us still have access to garden-grown or at least farm-fresh vegetables. If you are one of the lucky ducks who can get their hands on plump, sweet tomatoes and other fruits of Mother Nature, the best way to use them is in their most unadulterated form possible. I like to call this kind of simple food preparation embracing the raw beauty of produce. Good food doesn’t need much applied effort to taste amazing.

IMG_1918 2

This End of Summer Garden Gazpacho is as delicious as it is easy. It takes less that 15 minutes to make from start to finish (though it does require refrigerator time). Pair it with my Homemade Multigrain Bread or a side of my Warm Chickpea and Sweet Potato Salad for a well-rounded, clean meal to keep you healthy this fall.

IMG_1724

End of Summer Gazpacho

Ingredients:

  • 8 medium or 5 large ripe tomatoes, halved and cored
  • 3 medium cloves of garlic
  • 1 organic cucumber, peeled and roughly chopped
  • 1 red bell pepper
  • 1 sweet onion
  • 1 jalapeno, seeds removed
  • 3-4 Tbs red wine vinegar
  • 3-4 Tbs olive oil, divided
  • Juice and zest of one lemon
  • Salt and pepper to taste

Directions:

  1. Squeeze tomatoes into a blender then dump in the remaining meat.
  2. Add the rest of the vegetables, vinegar, half the olive oil and salt and pepper to taste—remembering you can always add more but can’t subtract!
  3. Refrigerate for several hours or better yet overnight to help develop the flavors.
  4. Service with a drizzle of olive oil and fresh basil, parsley, cilantro or chives!

Sweet Potato and Chickpea Salad with Lime, Cilantro & Tahini Dressing

As seasons change, so too does our palette. Whether you ascribe to seasonal dietary changes as those who practice Ayurvedic nutrition do or not, most of us would agree that when the warmth of early fall burns out and winter sets upon us raw veggies and icy lemonade no longer sound so appealing. If we carefully, our bodies tend to crave warming foods—think roasted vegetables, soups and heating spices. We’re all far more likely to go to an Indian restaurant now than amidst the stifling heat and humidity of August.

While our natural instincts may lead us to butternut squash and parsnips, there are those of us that still need a good salad every now and again. A warm salad might just be what many of us need in order to give into the turning times while still feeling grounded and nourished. This warm salad, featuring vitamin-A rich sweet potato and fiber-rich chickpeas, is filling yet light, full of flavor yet detox-friendly.

Sweet Potato and Chickpea Salad with Lime, Cilantro and Tahini Dressing

(makes 4 servings)


What You’ll Need:

Sweet Potato and Chickpea Salad:

  • 2 large sweet potatoes (about 2 lbs), skin-on and cut into cubes
  • 1/2 tsp ground cinnamon
  • 1/2 tsp turmeric
  • 1/2 tsp smoked paprika
  • Pinch of red pepper flakes
  • Pinch of sea salt
  • 2 Tbs olive oil
  • 1/4 yellow onion, finely diced
  • 2 cups prepared chickpeas (canned works too)

Lime, Cilantro ad Tahini Dressing:

  • 2 small garlic cloves, minced
  • 1/4 fresh cilantro leaves
  • 1/4 yellow onion, finely diced
  • Juice of 2 limes
  • 1/4 cup tahini
  • Sea salt and pepper to taste

How to Make It:

  1. Preheat the oven to 425°F.
  2. In a large bowl, combine the sweet potato, spices, olive oil and a few pinches of sea salt. Toss until all pieces are evenly coated. Roast on a baking sheet for 30 min, or until soft.
  3. Remove from the oven and let cool.
  4. While the sweet potatoes roast, make the tahini dressing. In a food processor (or blender), add all ingredients and mix until smooth. Taste and adjust seasoning. You may opt to add a little water to thin it out.
  5. To bring it all together, combine the sweet potatoes, chickpeas, onion and cilantro in a mixing bowl. Add 3/4 of the dressing, gently folding it into the mixture and serve with the additional dressing on the side.

Be sure you enjoy this recipe right away. Otherwise, set aside the portion of salad you don’t plan to eat undressed and save a small container of the dressing. You can reheat the salad when you’re ready and top with the tasty dressing. This is a great salad to bring to work and keeps well in the refrigerator for up to four or five days.

Oatmeal Chocolate Cookies

Sugar is not the devil, but it’s no secret that most of us overindulge in it – sometimes without even realizing. In moderation, sugar can (and likely will) be included in a healthy diet. The problem is that most of us get our sugar from processed foods like candies, cookies and soda. True, homemade treats aren’t necessarily as convenient as store-bought, but 9 times out of 10 they’re better for you and your family. These Oatmeal Chocolate Cookies take it to the ‘alternative’ extreme of gluten-free and vegan, but even a homemade batch of buttery chocolate chip cookies is a healthier options than Chips Ahoy. Take baby steps first if you’re kicking a processed sugar habit before making your way to the wild side of chia seeds and raw coconut sugar in your baked goods. For those of you that are already on the natural foods path, these cookies are a tasty treat that you can get away with eating for breakfast every now and again. That’s right, chocolate for breakfast.

Oatmeal Chocolate Cookies

Vegan Oatmeal Chocolate Cookies

{makes 12 cookies}

What You’ll Need:

  • 1 medium banana (really ripe)
  • 1/4 cup apple sauce
  • 2 Tbs almond butter
  • 1 cup gluten-free rolled oats
  • 2 oz 100% cocoa dark baking chocolate
  • 2 Tbs coconut palm sugar (or 1 Tbs raw cane sugar)
  • 2 Tbs chia seeds
  • 2 Tbs dried, unsweetened cherries (optional)
  • 2 Tbs unsweetened, finely shredded coconut (optional)
  • 1/4 tsp sea salt

How to Make Them:

  1. Preheat oven to 350 F. Line a baking sheet with parchment paper or a baking mat and set aside.
  2. In a large bowl, add wet ingredients and mix until smooth. In the same bowl (no need to make two messy for this one), add your dry ingredients and mix until well-combined.
  3. Roll 1 Tbs of the mixture into 1″ balls and place onto prepared baking sheet, using your finger to press down the center of each one. Make sure there’s at least 1″ of space between each cookie.
  4. Bake for 15 minutes. Remove from oven and allow cookies to cool on baking sheet for 5-10 minutes before transferring to a baking rack to cool completely.

Store in an airtight container counter-top for up to a week, in the fridge for up to two, or in the freezer for up to three months.


Black Rice and Lentil Veggie Burgers

After a weekend of eating way more meat than usual (ballpark franks – go Nationals! – and barbecue), I decided it was high time for a Meatless Monday recipe. I love making homemade veggie burgers because you’re in charge of what goes in, and what stays out. My Black Rice and Lentil Veggie Burgers are loaded with plant-based protein (1 cup of lentils has 20 grams), iron, zinc and antioxidant-rich veggies like asparagus and carrots. I used rolled oats in place of bread crumbs and gelled chia seeds instead of eggs to bind these beauties together, keeping the end result gluten-free and vegan.

Serve them over a bed of fresh mixed greens, some sliced fresh avocado and tomato, and kick it up with your favorite hot sauce for a simple, healthy supper or easy-to-pack lunch for those of you on the go. These would also be awesome for any vegetarians in need a Fourth of July BBQ alternative to burgers and hot dogs.

Black Rice and Lentil Veggie Burgers

Black Rice and Lentil Burgers

{makes 6 patties}

What You’ll Need:

  • 1 cup black rice
  • 1/2 cup lentils
  • 1/2 cup carrots, coarsely grated
  • 1/2 cup asparagus, coarsely grated
  • 1/2 red onion, diced
  • 2 cloves garlic, minced
  • 1/2 cup gluten-free rolled oats
  • 1/4 cup chopped mint
  • 2 Tbs chia seeds (soaked in 4 Tbs of water)
  • 1 Tbs cumin
  • Salt and pepper to taste
  • 1/4 cup olive oil

How to Make It:

  1. Preheat oven to 350 degrees F
  2. Bring the rice to a boil with two cups of water. Reduce to a simmer and let cook, covered, for 35-40 minutes or until all water is absorbed. Remove from heat and fluff with a fork. (Tip: Do this ahead and save time.)
  3. Cook the lentils in 1 1/2 cups of water. Cover, bring to a boil, lower heat, and cook for about 20 minutes or until the lentils are tender and the water is mostly absorbed.
  4. Add chia seeds to water and let stand for 15 minutes until they gel and thicken.
  5. Combine rice, lentils, chia seeds and add all the remaining ingredients (except the oil) in a large mixing bowl. Mix thoroughly.
  6. Take half the mixture and place it in a food processor, pulsing until it forms a thick paste. Add it back to the unprocessed mixture and kneed by hand until combined.
  7. Use a 1/2 cup dry measuring cup to scoop some of the mixture into your hands. Form patties with your hands, flattening on the top and bottom. Refrigerate for 30 min (or up to 24 hours).
  8. Place a heavy skillet over medium/high heat, add the oil and heat until hot but not smoking. Add the patties and cook for 1-2 min on each side or until each side is firm and golden.
  9. Place in a baking dish in the oven for about 15-20 min.
  10. Serve immediately or let cool and store in refrigerator for up to 10 days or freezer for up to 3 months.

Gluten-Free Pie Crust

Whether you are one of the estimated 3 million Americans living with Celiac Disease, have a known allergy or sensitivity, or are just curious to see how you might feel, making the switch to a gluten-free diet isn’t easy. Gluten hides in sneaky places like salad dressings, soups and even cosmetics. Beyond deciphering which food and beauty products are truly gluten-free, we all still want and need to enjoy life, and a big part of that big picture happiness is eating. That’s why one of my main nutrition counseling aims is to help those that want or need to be gluten-free learn how to shop and cook without sacrificing on flavor and enjoyment.

Let’s face it, life without bread, pancakes, pasta and most desserts would be pretty devastating for me and most people. Luckily, there is so much culinary creativity out there these days that you can have your gluten-free cake and eat it too. While I’m not tackling an actual cake in this post, I am bringing you the foundation of endless sweet treats: Gluten Free Pie Crust. This crust is light and flaky and can be made vegan by swapping coconut oil for butter. Fill it with your favorite seasonal fruit, a hint of healthy sugar (coconut palm sugar, agave, real maple syrup), a squeeze of lemon and some fresh herbs for a surprising and yummy twist and you’ll forget you’re eating something considered “alternative.”

Gluten Free Pie Crust

Gluten Free Pie Crust

What You’ll Need:
  • 1 cup spelt flour (or your preferred gluten-free flour)
  • 1/2 cup almond meal
  • 1/2 cup organic butter or coconut oil
  • 1-2 tsp coconut palm sugar or cane sugar
  • 1/2 tsp sea salt
How to Make It:
  1. Soften butter or coconut oil in microwave until just melted.
  2. Mix all dry ingredients together in a large bowl. Add your liquid and mix again.
  3. Form into a ball and refrigerate for at least a half hour (you can also freeze this for up to 3 months).
  4. When ready to bake, remove from refrigerator and place between two pieces of parchment paper. Roll it to desired thickness with a rolling pin. Drape the flattened dough over your preferred pie dish or tart pan. Don’t worry if the dough falls apart a bit, just press it into all corners and all the way up to the rim and make sure it’s distributed evenly so it cooks through.
  5. Bake at 400 F for 10 min on its own then reduce to 350 for another 35-40 min with your desired filling inside.

Harissa Pomegranate Roasted Chicken with Avocado, Grapefruit & Mint Salad

Those of you that have been reading this blog for the last couple of years know that I tend to share vegan and/or gluten-free recipes, featuring organic, local and nutrient-dense “superfoods” as much as possible. While this is a healthy, earth-friendly and local-business bolstering approach to nourishment, it’s not necessarily affordable or realistic for large swaths of the population.

With that in mind, I am incredibly grateful that I am able to eat the way I do and am passionate about making healthy eating as universally doable as possible. For those who can afford organic and/or local ingredients and can supplement their diets with emerging superfoods (chia seeds, coconut oil, maca powder, etc), the work is in creating recipes that are easy to follow and still taste delicious after weaving in all those extra nutrients and swapping out empty ingredients. For the rest, who still want and ought to have strategies and guidance for feeding themselves and their families without having to sacrifice other basic needs, the job is admittedly a lot tougher. I’m currently working on food education and nutrition workshops for my new studio, Yoga Heights, that will tackle this tough task and will ultimately help me and YHDC co-owner, Jess Pierno, further our mission of offering yoga, pilates and nutrition to create balanced wellness for every body, at every level and every budget.

Two strategies I often suggest for people trying to eat healthy on a budget is to pay attention to the cuts of meat they purchase and to use spices to add bold flavors to basic meals. Apart from my decision and ability to use organic chicken instead of generic, this recipe fits the bill. Chicken thighs are a much more affordable cut than breast meat, especially when you buy them bone-in, skin-on—or better yet, get the whole chicken and butcher it yourself. For health purposes, I’d suggest you skip the skin except for special occasions. Harissa is a North African spice blend featuring a variety of flavors ranging from hot chile to caraway. I picked some up the last time I was in Ethiopia and love using it on meat and fish.

Harissa Sauce_MOARfit

While it takes some investment up front to stock your pantry with spices, oils and special ingredients, it pays off in the long run. Just think of all the ways I’ve already used pomegranate molasses!

This dish is great for a summer dinner party with friends. The cooling Avocado, Grapefruit and Mint salad is a nice complement to the spicy Harissa Pomegranate Roasted Chicken. It’s a feast for the senses—nose, eyes and mouth delight!

Harissa Chicken_MOARfit

Inspired by a recipe I saw in Women’s Health (May 2014). Unfortunately there’s no online link!

Harissa Pomegranate Roasted Chicken with Avocado, Grapefruit & Mint Salad

{makes 4 servings}

What You’ll Need:

  • 4 organic, bone-in chicken thighs (skinless)
  • 1/4 cup olive oil
  • Juice of 1/2 lemon
  • 1 Tbs pomegranate molasses
  • 1/3 cup harissa
  • Sea salt and pepper to taste
  • 2 large grapefruits, sectioned
  • 2 avocados, sliced
  • 1/2 cup gently chopped or torn mint leaves

How to Make It:

  1. Combine oil, lemon juice, pomegranate molasses, harissa and salt & pepper in a food processor or blender and puree until smooth.
  2. Place chicken thighs in a roasting pan or rimmed baking sheet. Cover chicken in harissa-pomegranate sauce, cover with foil and refrigerate for at least 2 hours (optimally overnight).
  3. Preheat oven to 400 F.
  4. Remove chicken from refrigerator. Bake, covered, for 20-25 min. Remove from oven and let sit for 10 min before serving (seals all the yummy juices inside).
  5. When ready to serve, divide avocados, grapefruit and mint equally between 4 plates. Place one chicken thigh on top of each salad and drizzle with sauce run-off.

I hope you like this one as much as I did! It’s a little spicy, bold and bright. Mmm mmm.