When it snows and your noon class gets canceled, what else do you do besides cook? Okay well maybe that’s just me, but snow day = kitchen marathon. I’ve already made these pancakes:
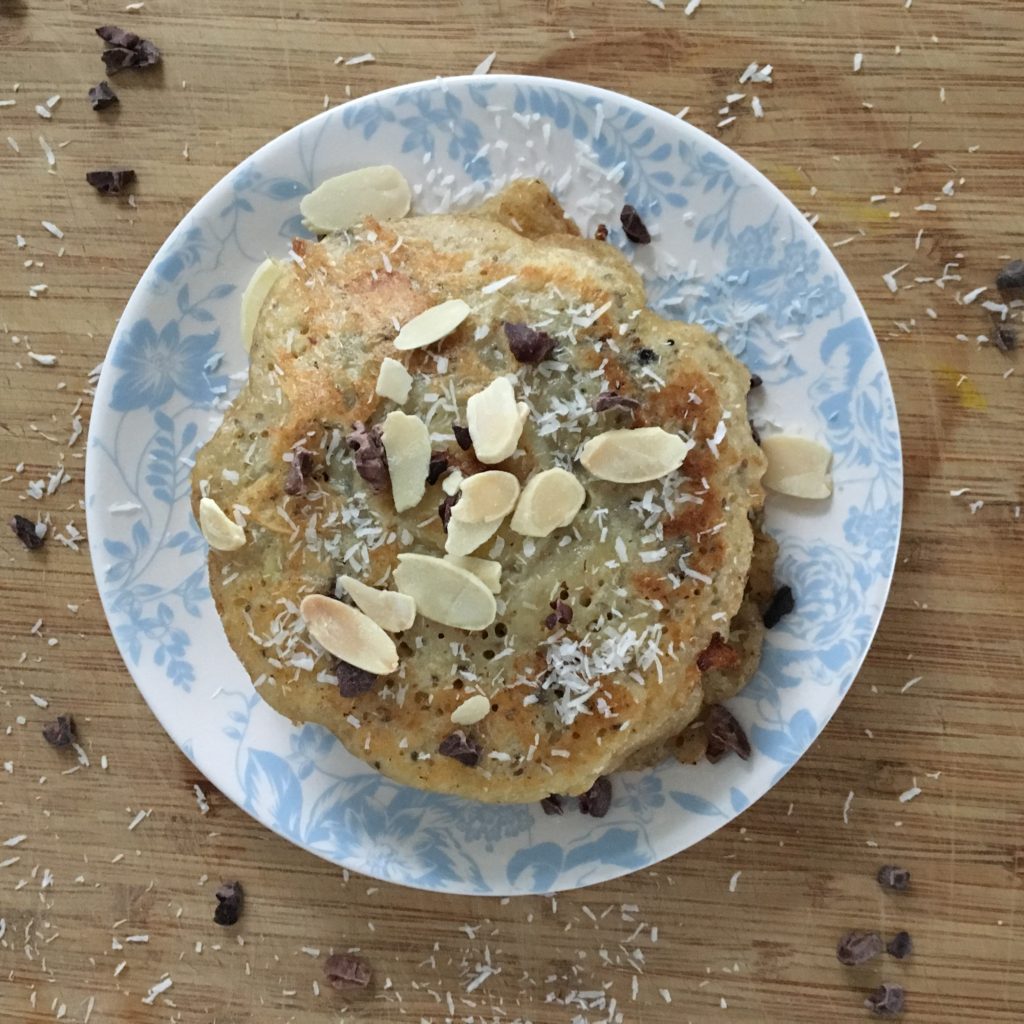
And of course added my own twist with cacao nibs, unsweetened coconut, banana rounds and chia seeds.
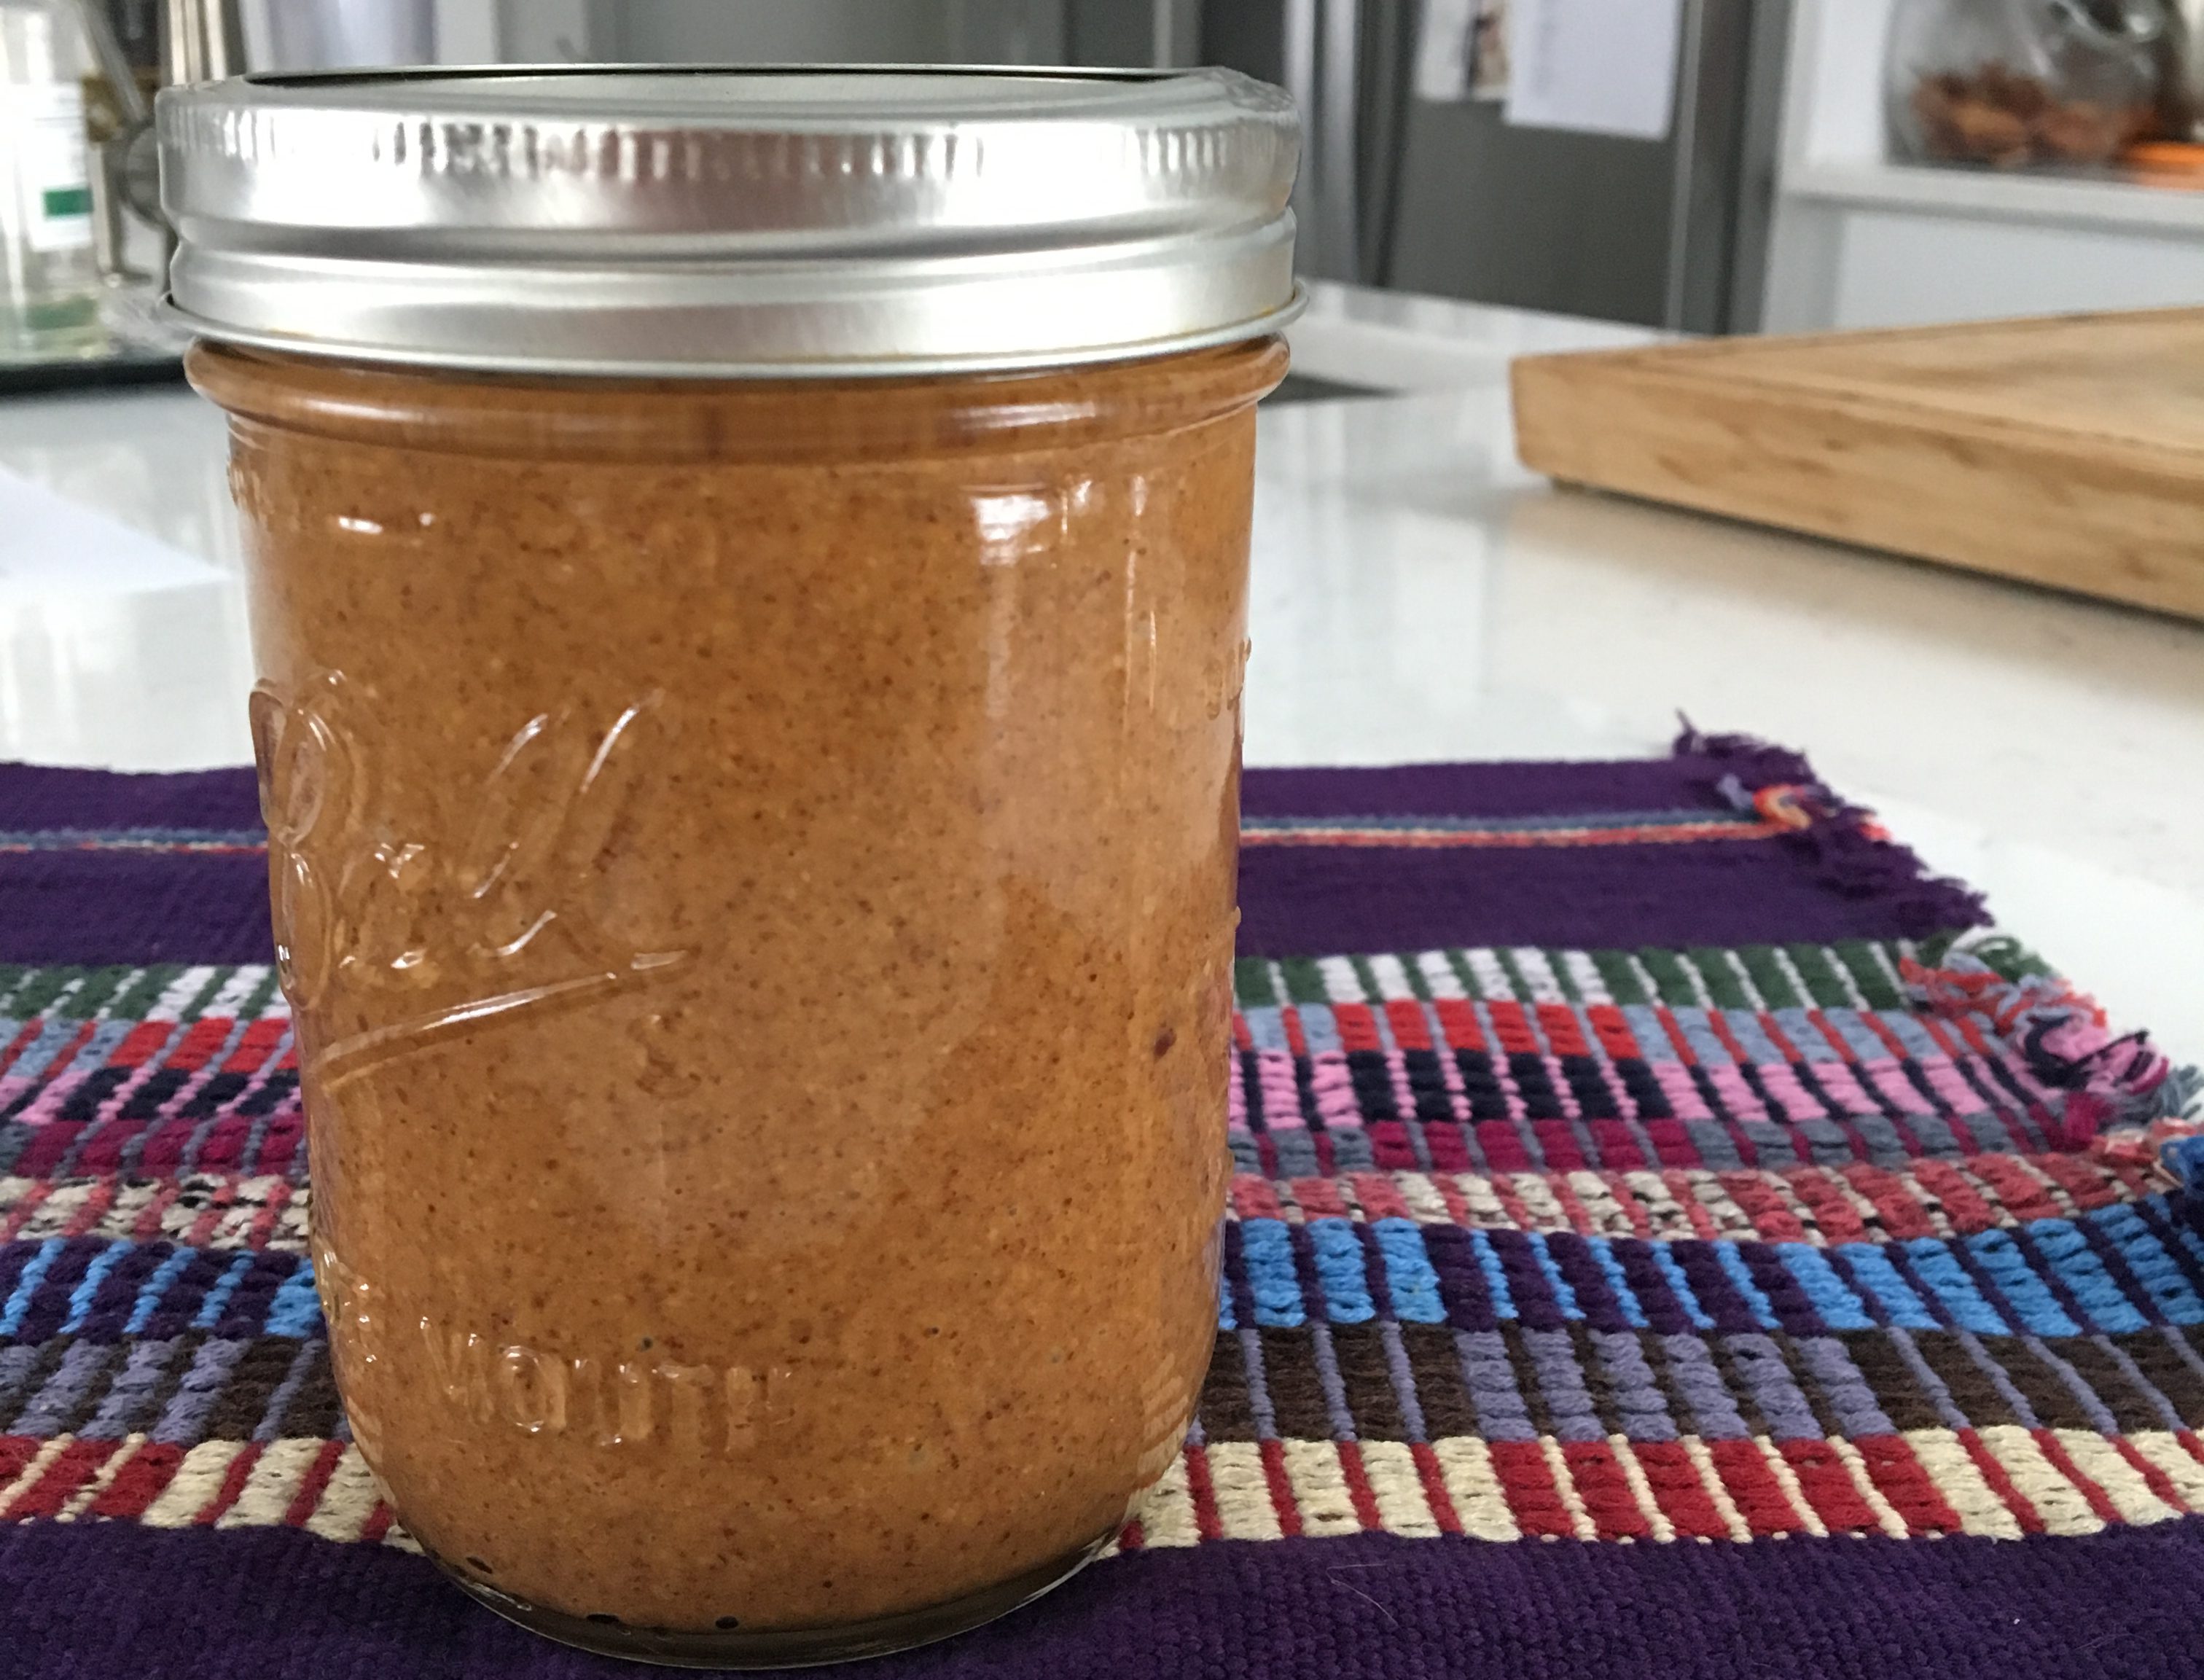
Now, it’s time to tackle my first ever batch of homemade peanut butter….
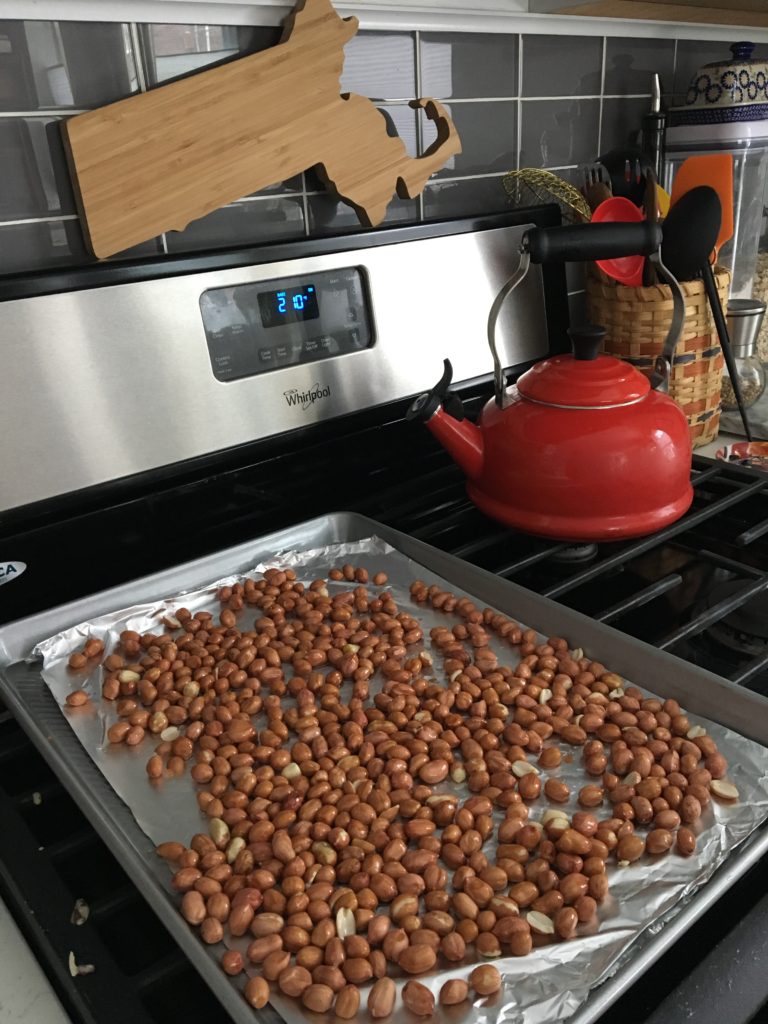
So many of the brands you’ll find in stores contain sugar and if you haven’t heard, sugar overload is killing us. I’ve wanted to make my own peanut butter for a while, but it wasn’t until a recent trip to Houston, TX that I picked up some fresh, raw peanuts from Frobergs Farm that I finally got the motivation.
Turns out, it’s super easy if you have a food processor! Give it a try. Warning: you might never go back to the store bought stuff.
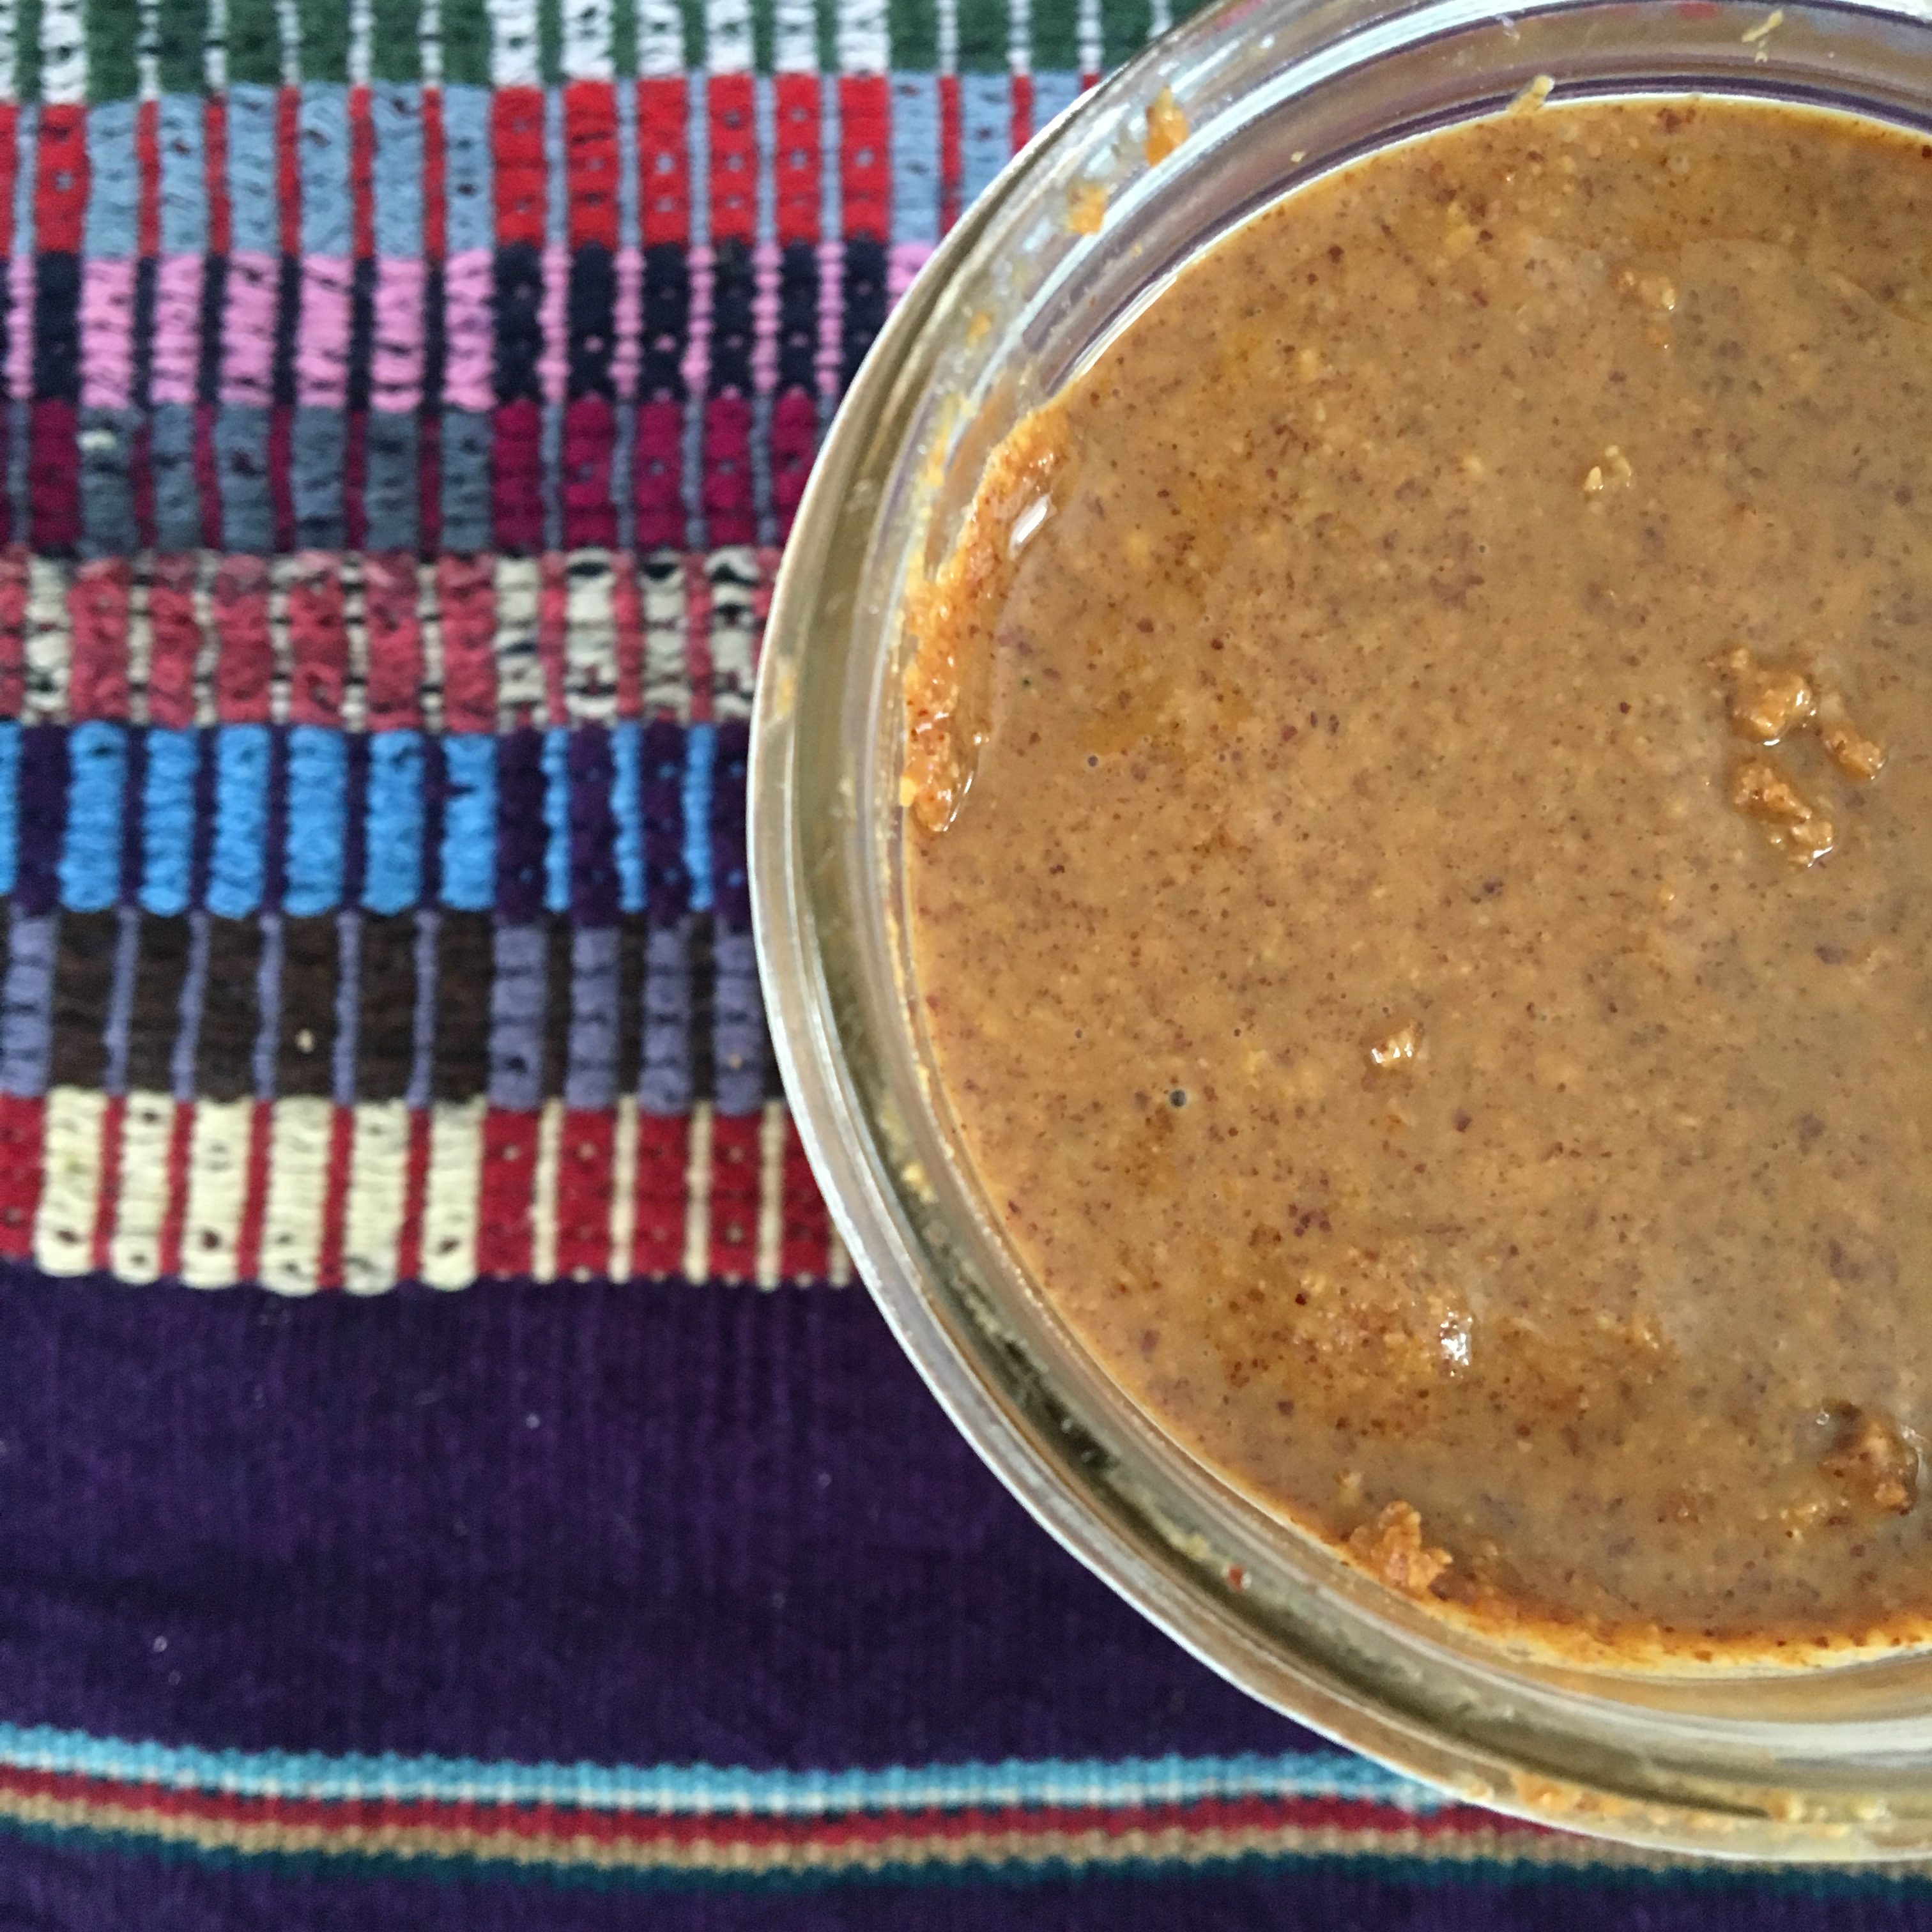
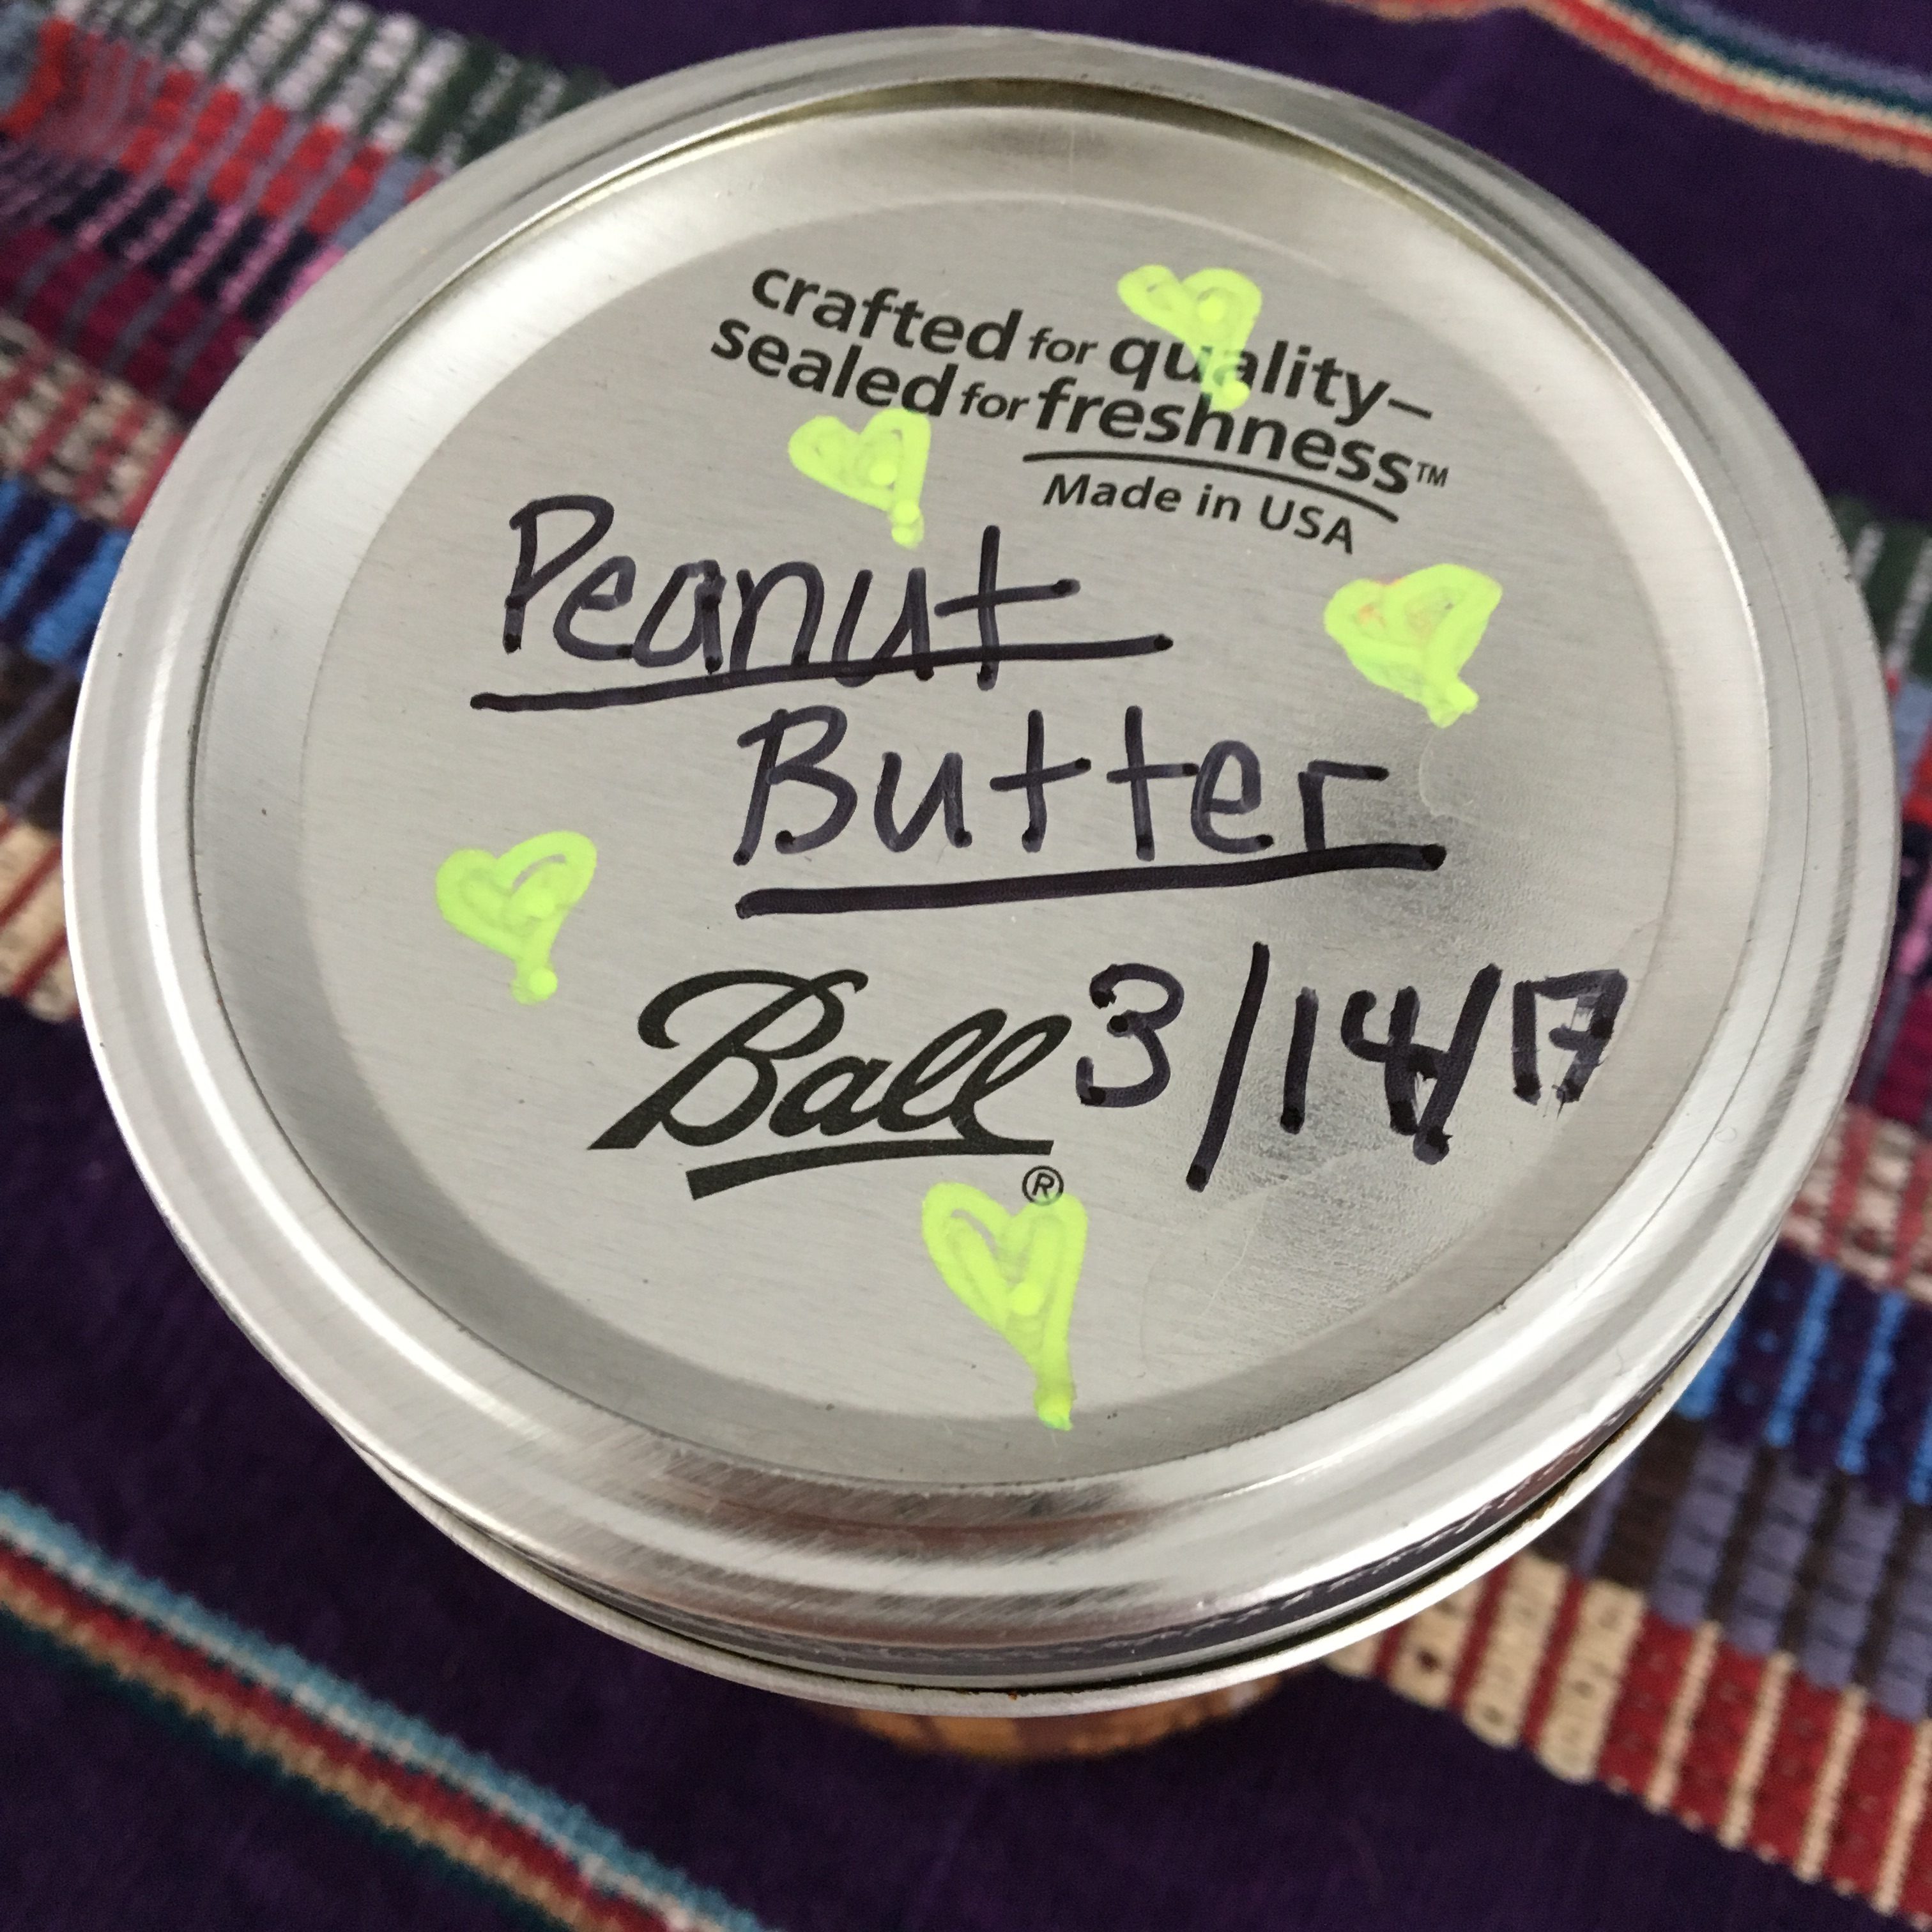
Homemade Peanut Butter (Sugar-Free)
Makes 1 pint (or 1 wide mouth, 16 oz mason jar)
Ingredients:
For the Peanut Butter –
- 1lb roasted peanuts, shelled
- 1 tsp pink Himalayan sea salt (or slightly more to taste)
- 2 – 2 1/2 Tbs coconut oil, melted
For roasting the peanuts –
- 1lb raw peanuts, shelled
- 1 tsp pink Himalayan sea salt
- 1 Tbs coconut oil, melted
Directions:
- Preheat the oven to 350 degrees F.
- Place peanuts in a large bowl and toss with the melted coconut oil and salt until well coated.
- Place on 1 non-stick or lined sheet pan, making sure to spread them out into a single layer. Roast in the oven for 30 minutes, rotating the pan halfway through cooking.
- Remove the peanuts from the oven and let them cool before eating/using for Peanut Butter. They will continue to become crunchy as they cool.
- To make peanut butter, remove the skin by rubbing the peanuts together in your hands held over a salad spinner, allowing the peanuts and skins to fall into the bowl. Once the skin has been loosened from all of the peanuts close the salad spinner and spin until all of the skin has been separated from the peanuts. (This step is optional – an idea taken from Alton Brown. I skipped it and had a few skins in the mix that didn’t just naturally fall off in roasting and it still turned out well!).
- In a food processor, combine roasted peanuts, melted coconut oil and sea salt to taste. Pulse until smooth or slightly crunchy – we all have our preference!
Note: you can store this in an airtight container in the fridge for up to a month.


